Making pickled garlic that goes well with meat
It's the season when new garlic starts to come out. From mid-May to early June, when new garlic is served, garlic pickles are made and served with meat, and they are also good as a side dish for rice, so they often make garlic pickles like annual events.
6 serving
Within 999 minutes
예쁜나무숲
- Ingredients
-
-
Garlic4kg
-
Vinegar1L
-
Bottled water1L
-
Water1L
-
Sugar500ml
-
Soju500ml
-
thick soy sauce250ml
-
- Cooking Steps
-
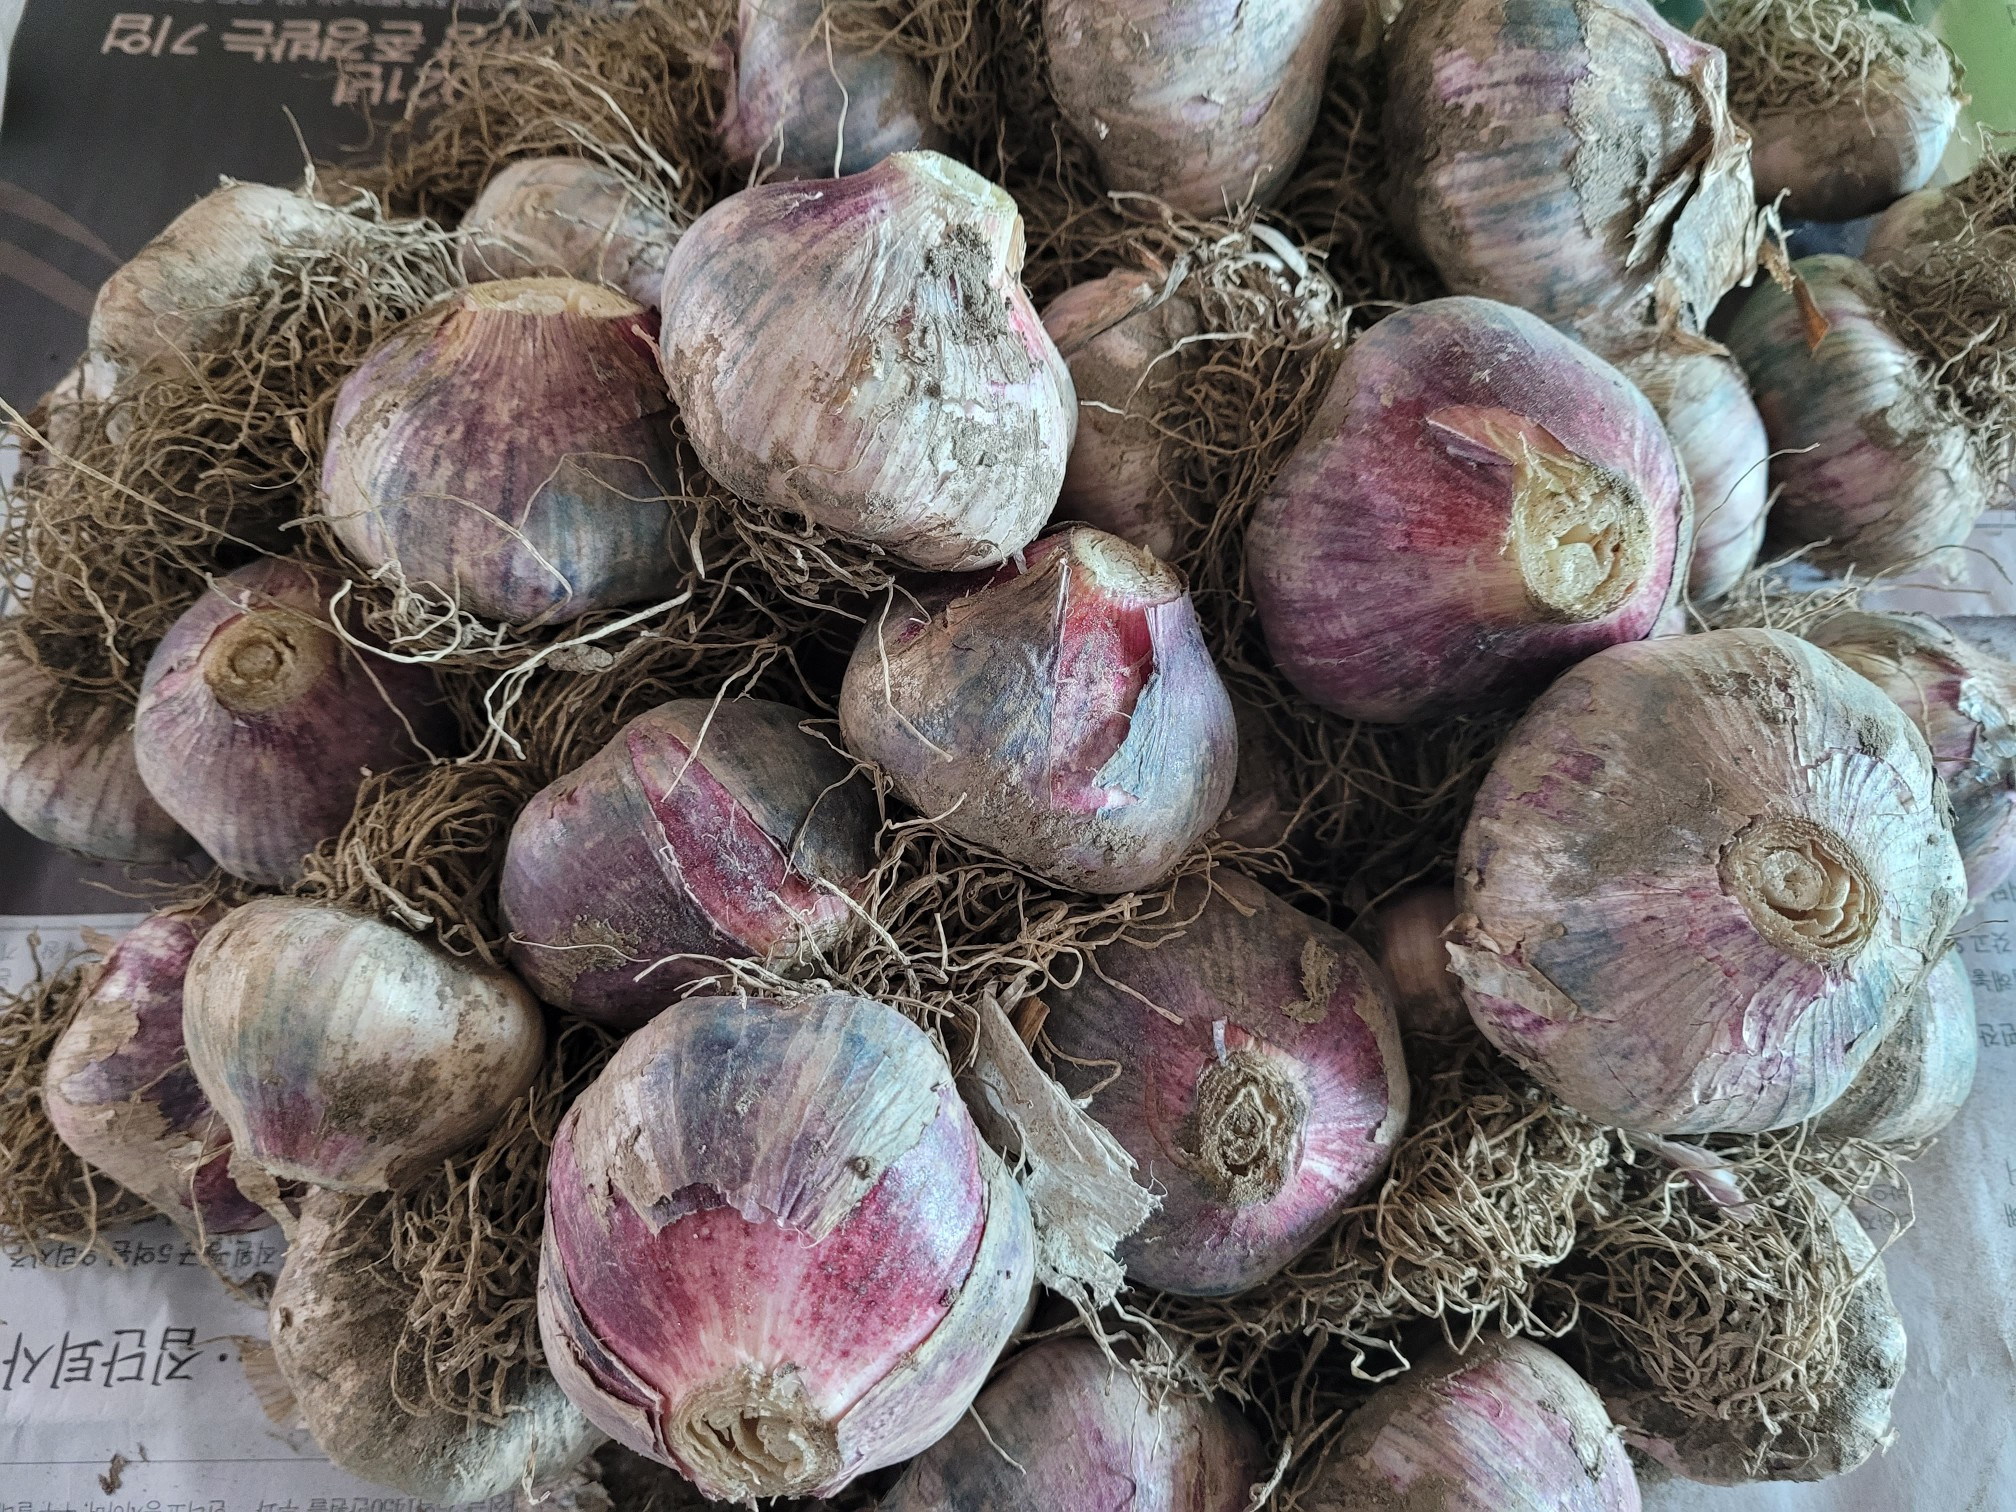
STEP 1/19I prepared garlic as fresh garlic for pickling. It doesn't matter if it's stored garlic, but when the pickles are done, the fresh garlic is soft and delicious.
 STEP 2/19Because it's fresh garlic, it's soft and moist, so just by pressing it with your finger, the garlic comes off easily.
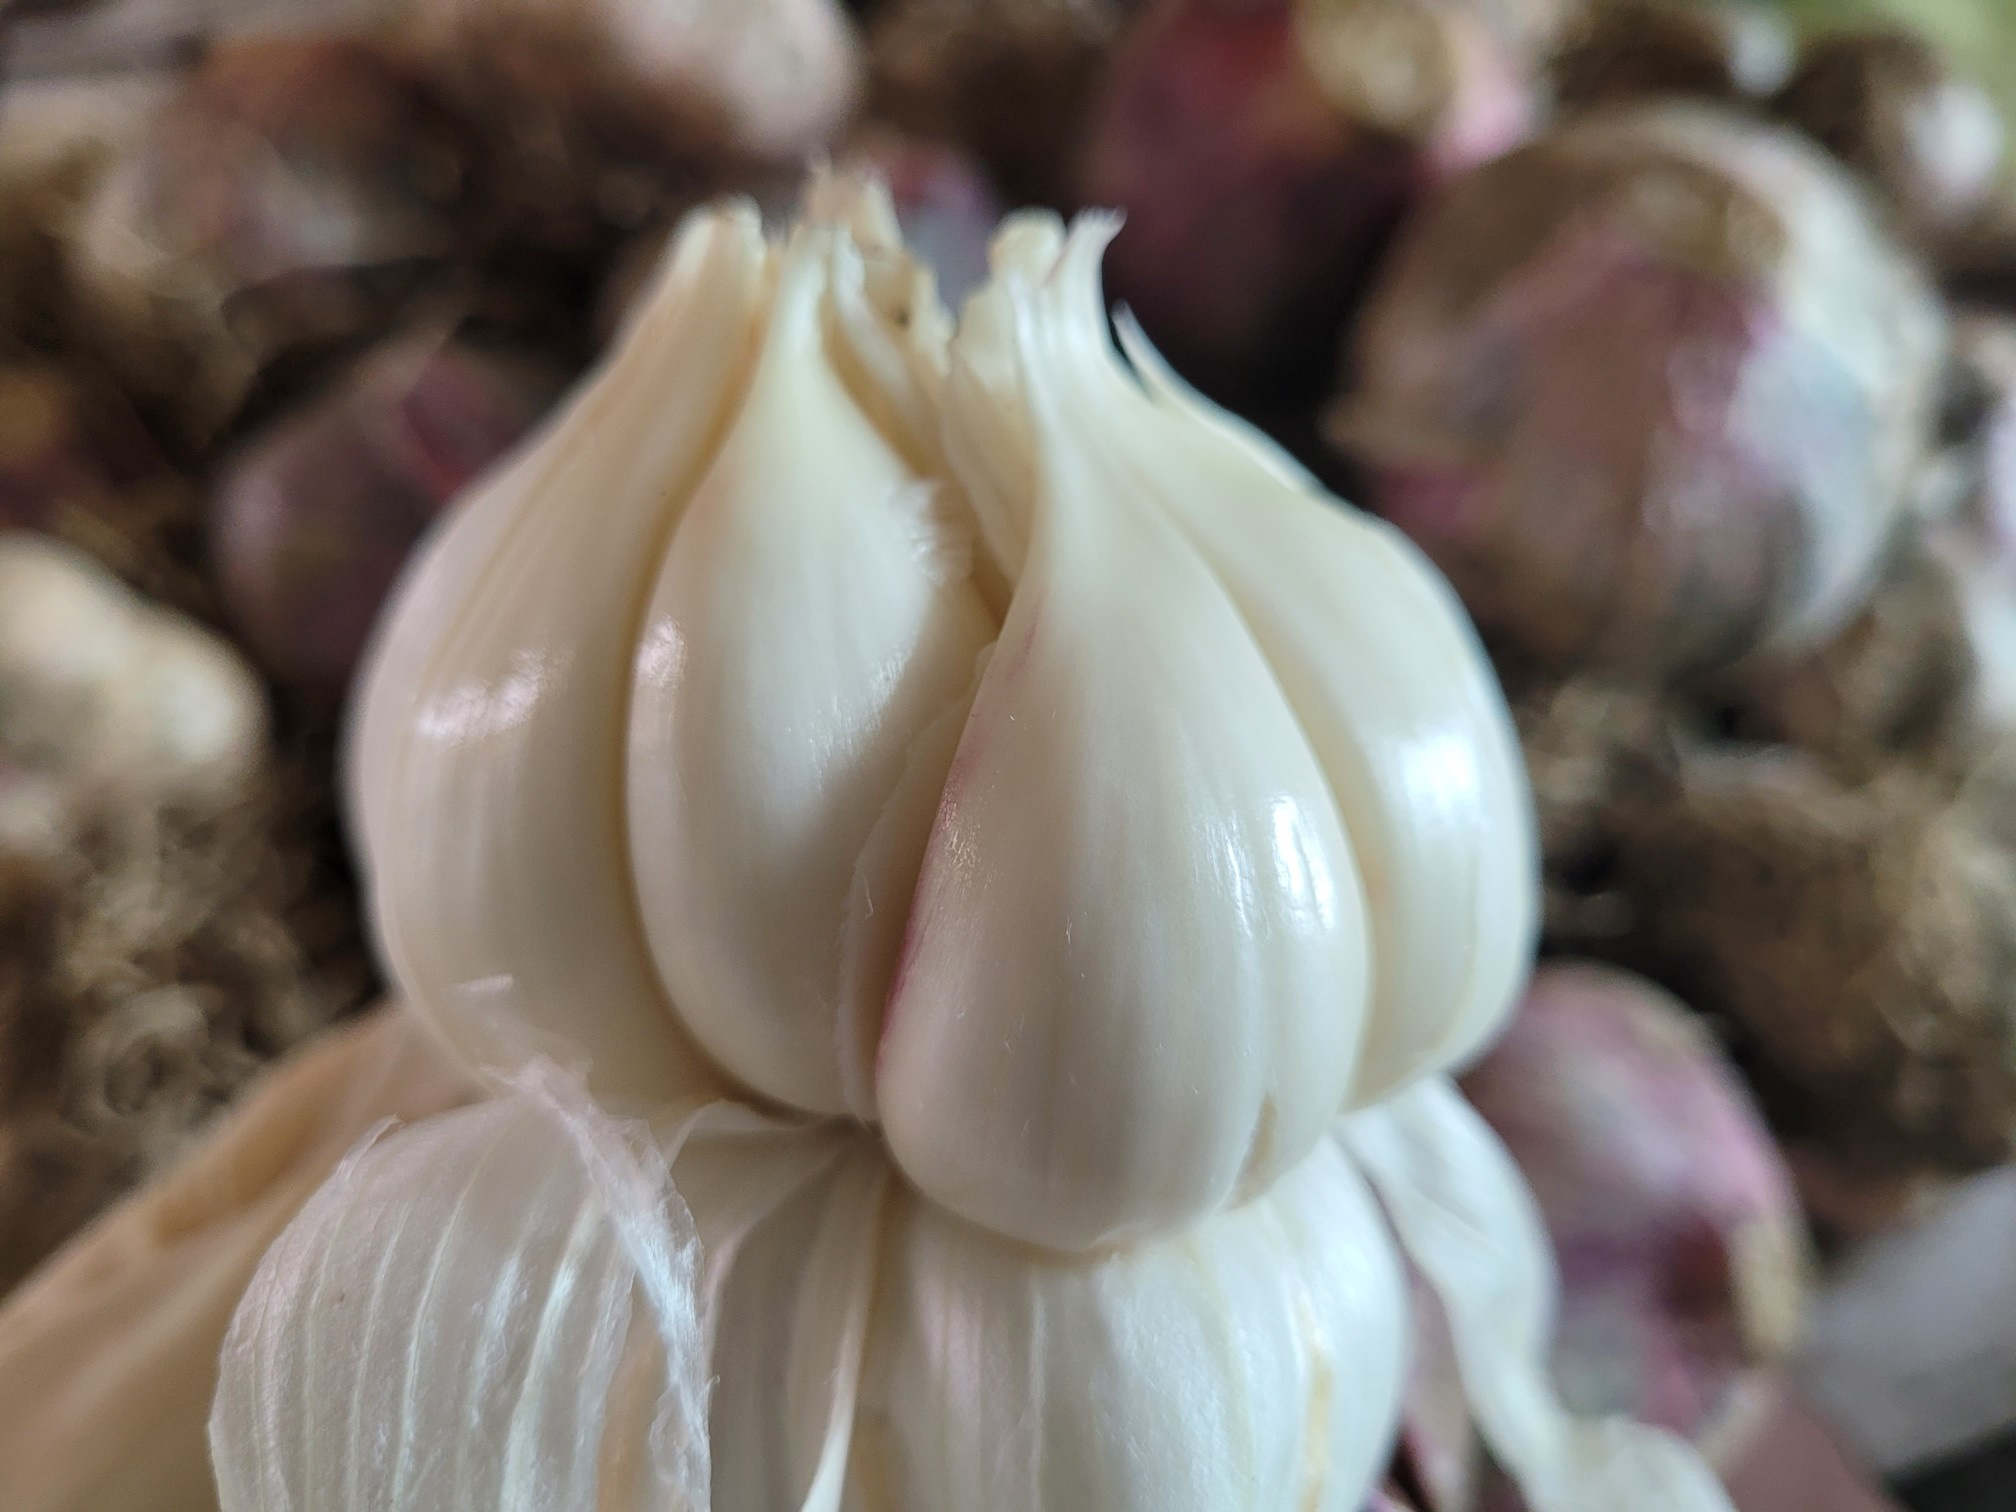 STEP 3/19We make pickled vegetables with whole garlic Every time I eat it, I'm lazy to peel it and it takes up a lot of volume, so now I make pickles with peeled garlic.
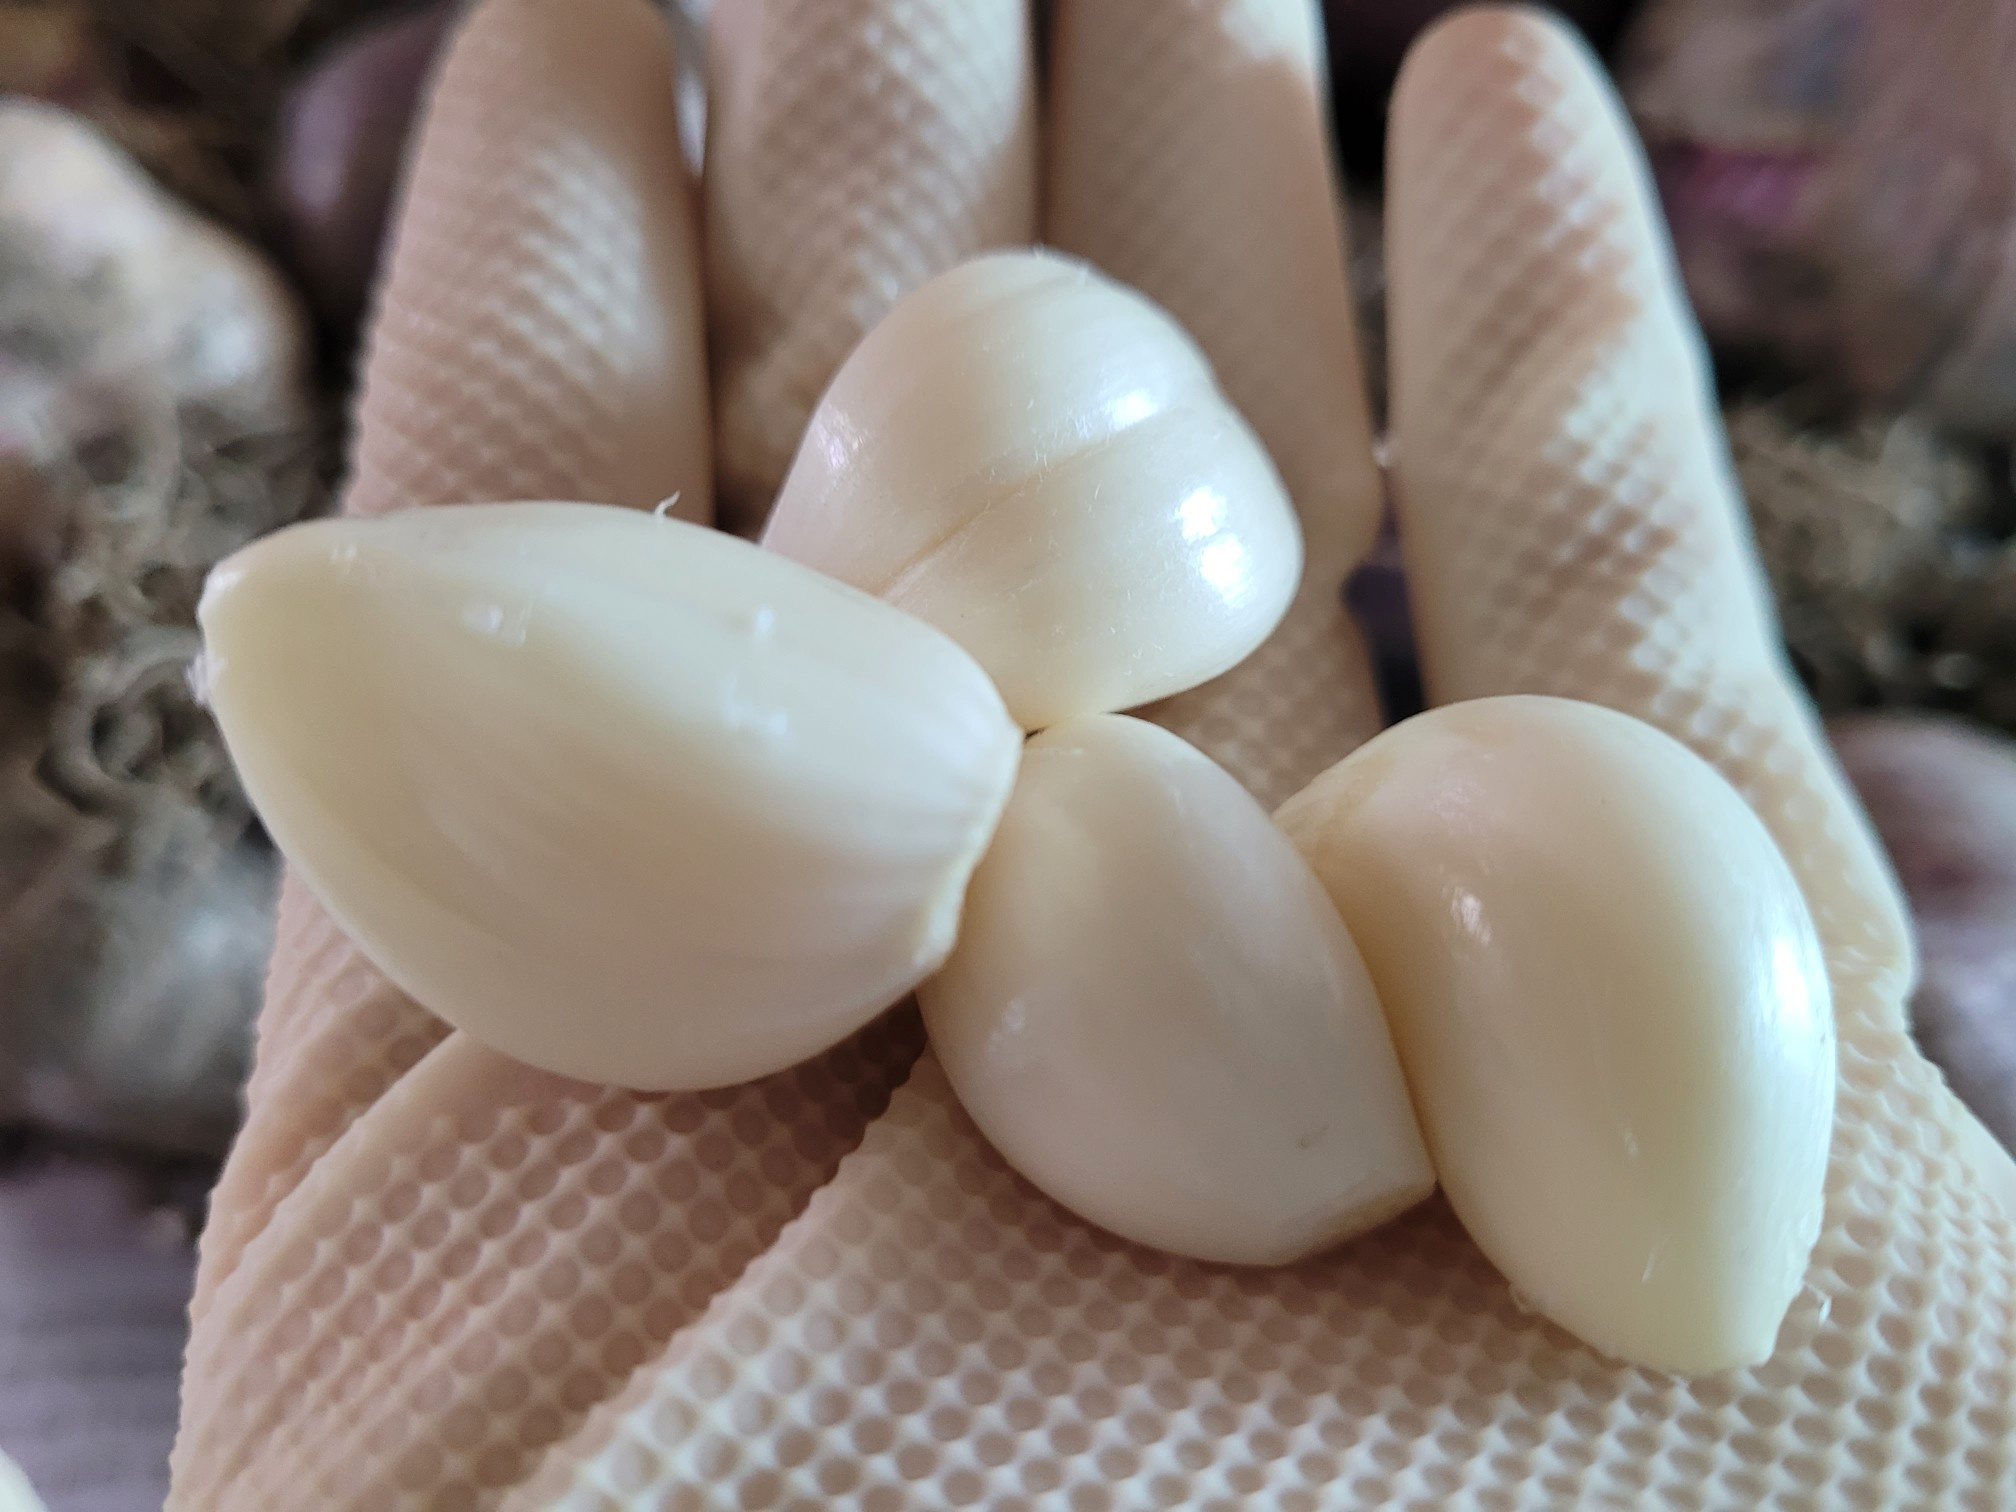 STEP 4/19I finally finished peeling garlic after endless repetition of simple labor.
Wash the peeled garlic and remove the water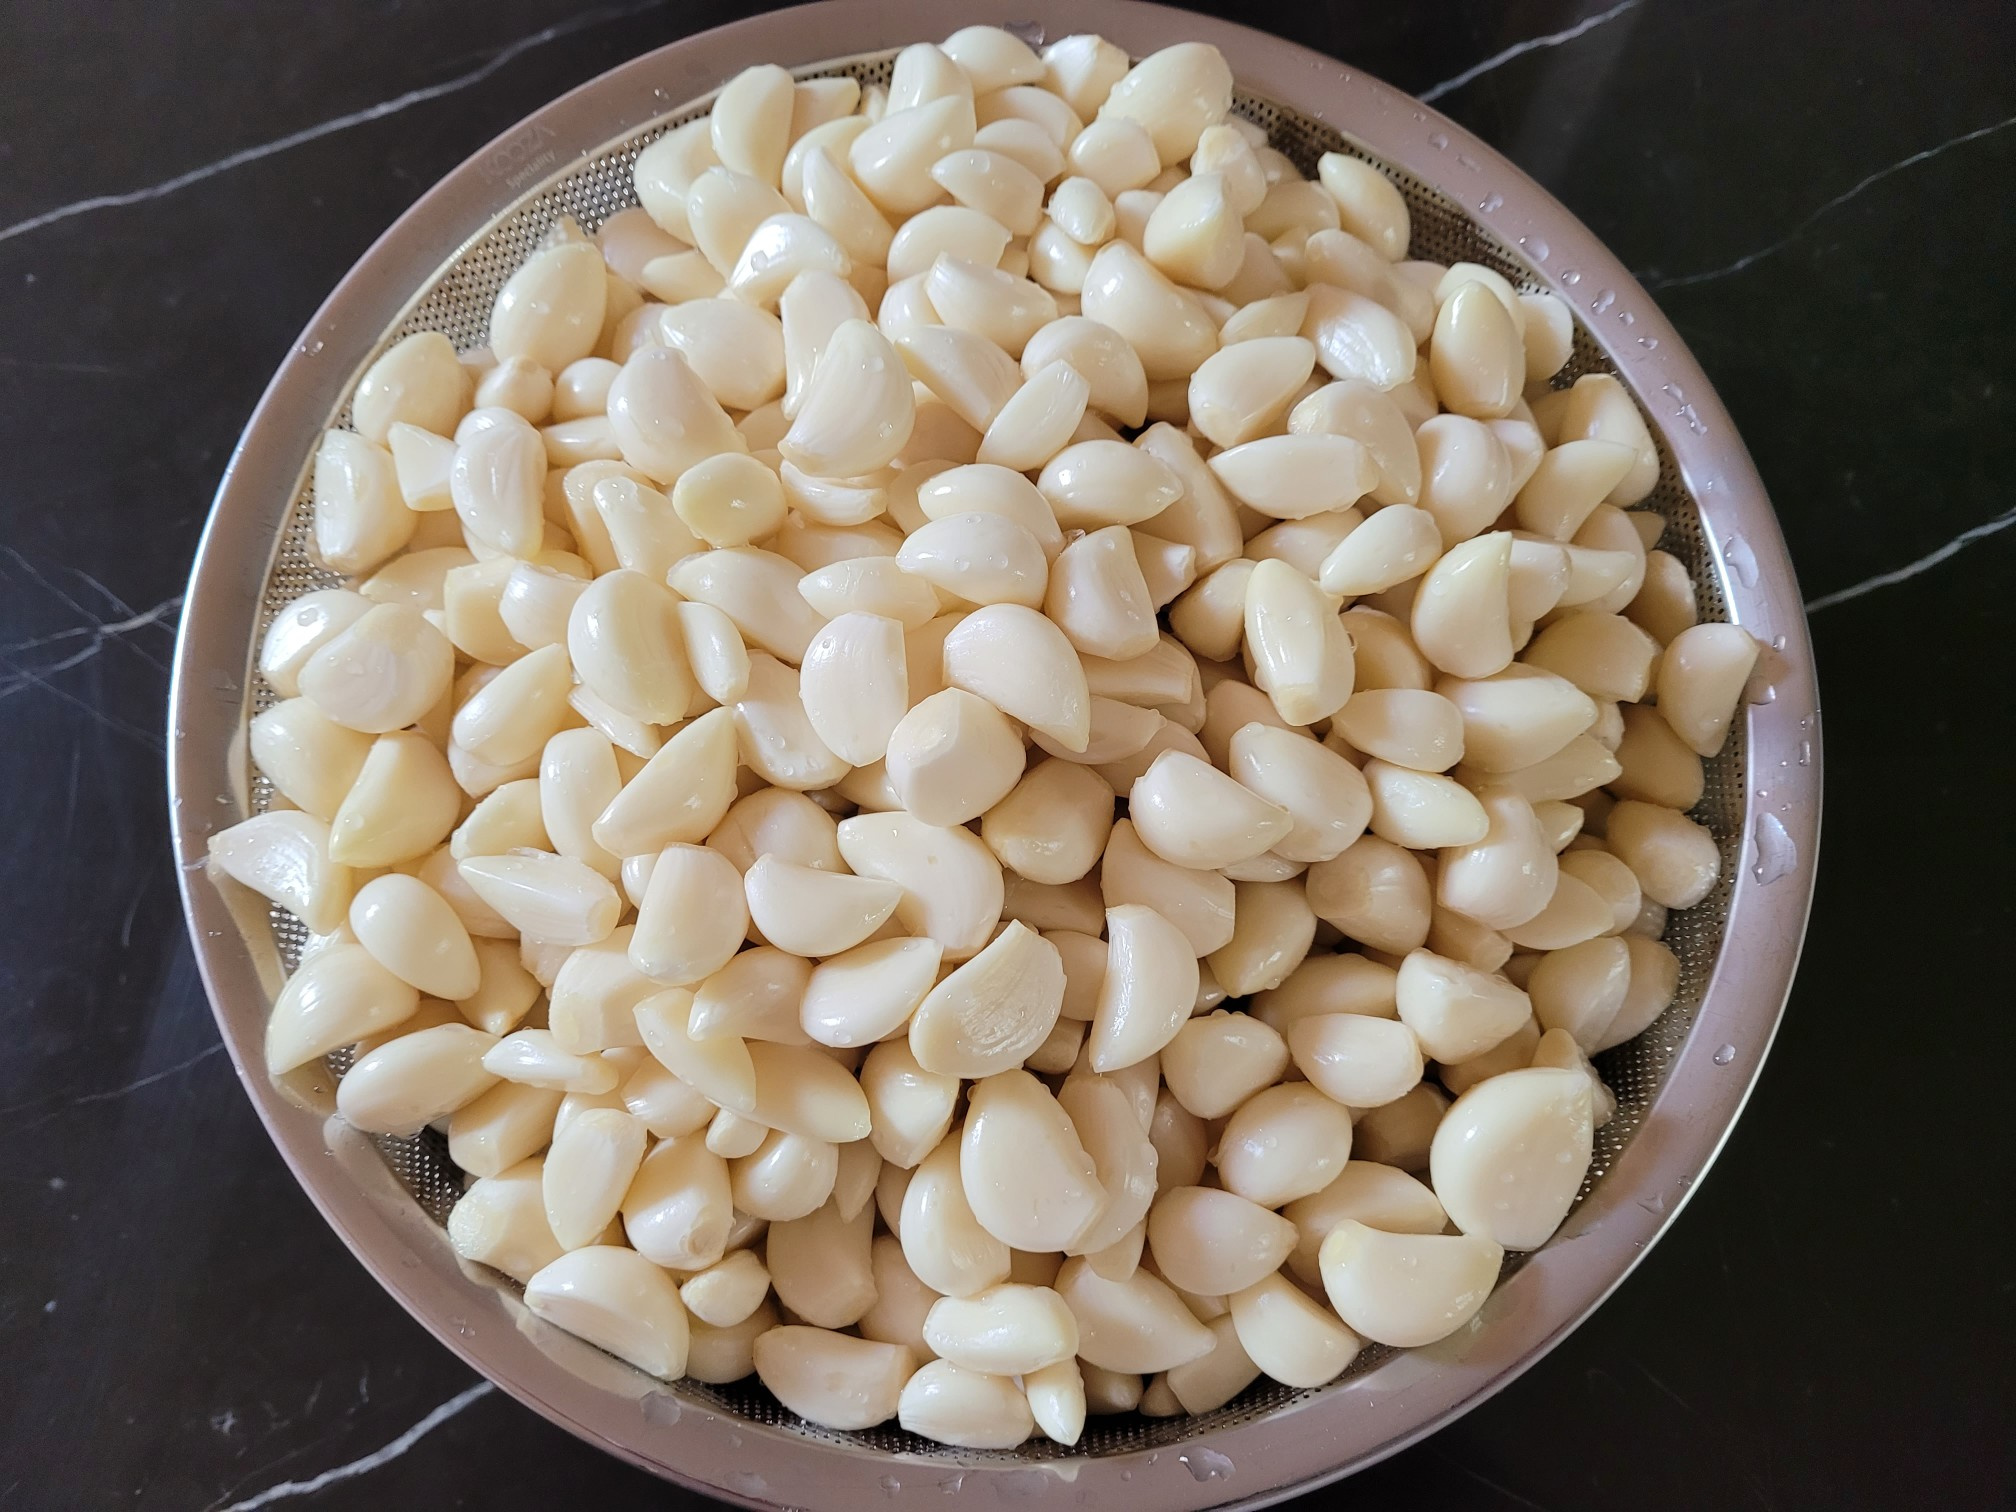 STEP 5/19I put it in a kimchi container.
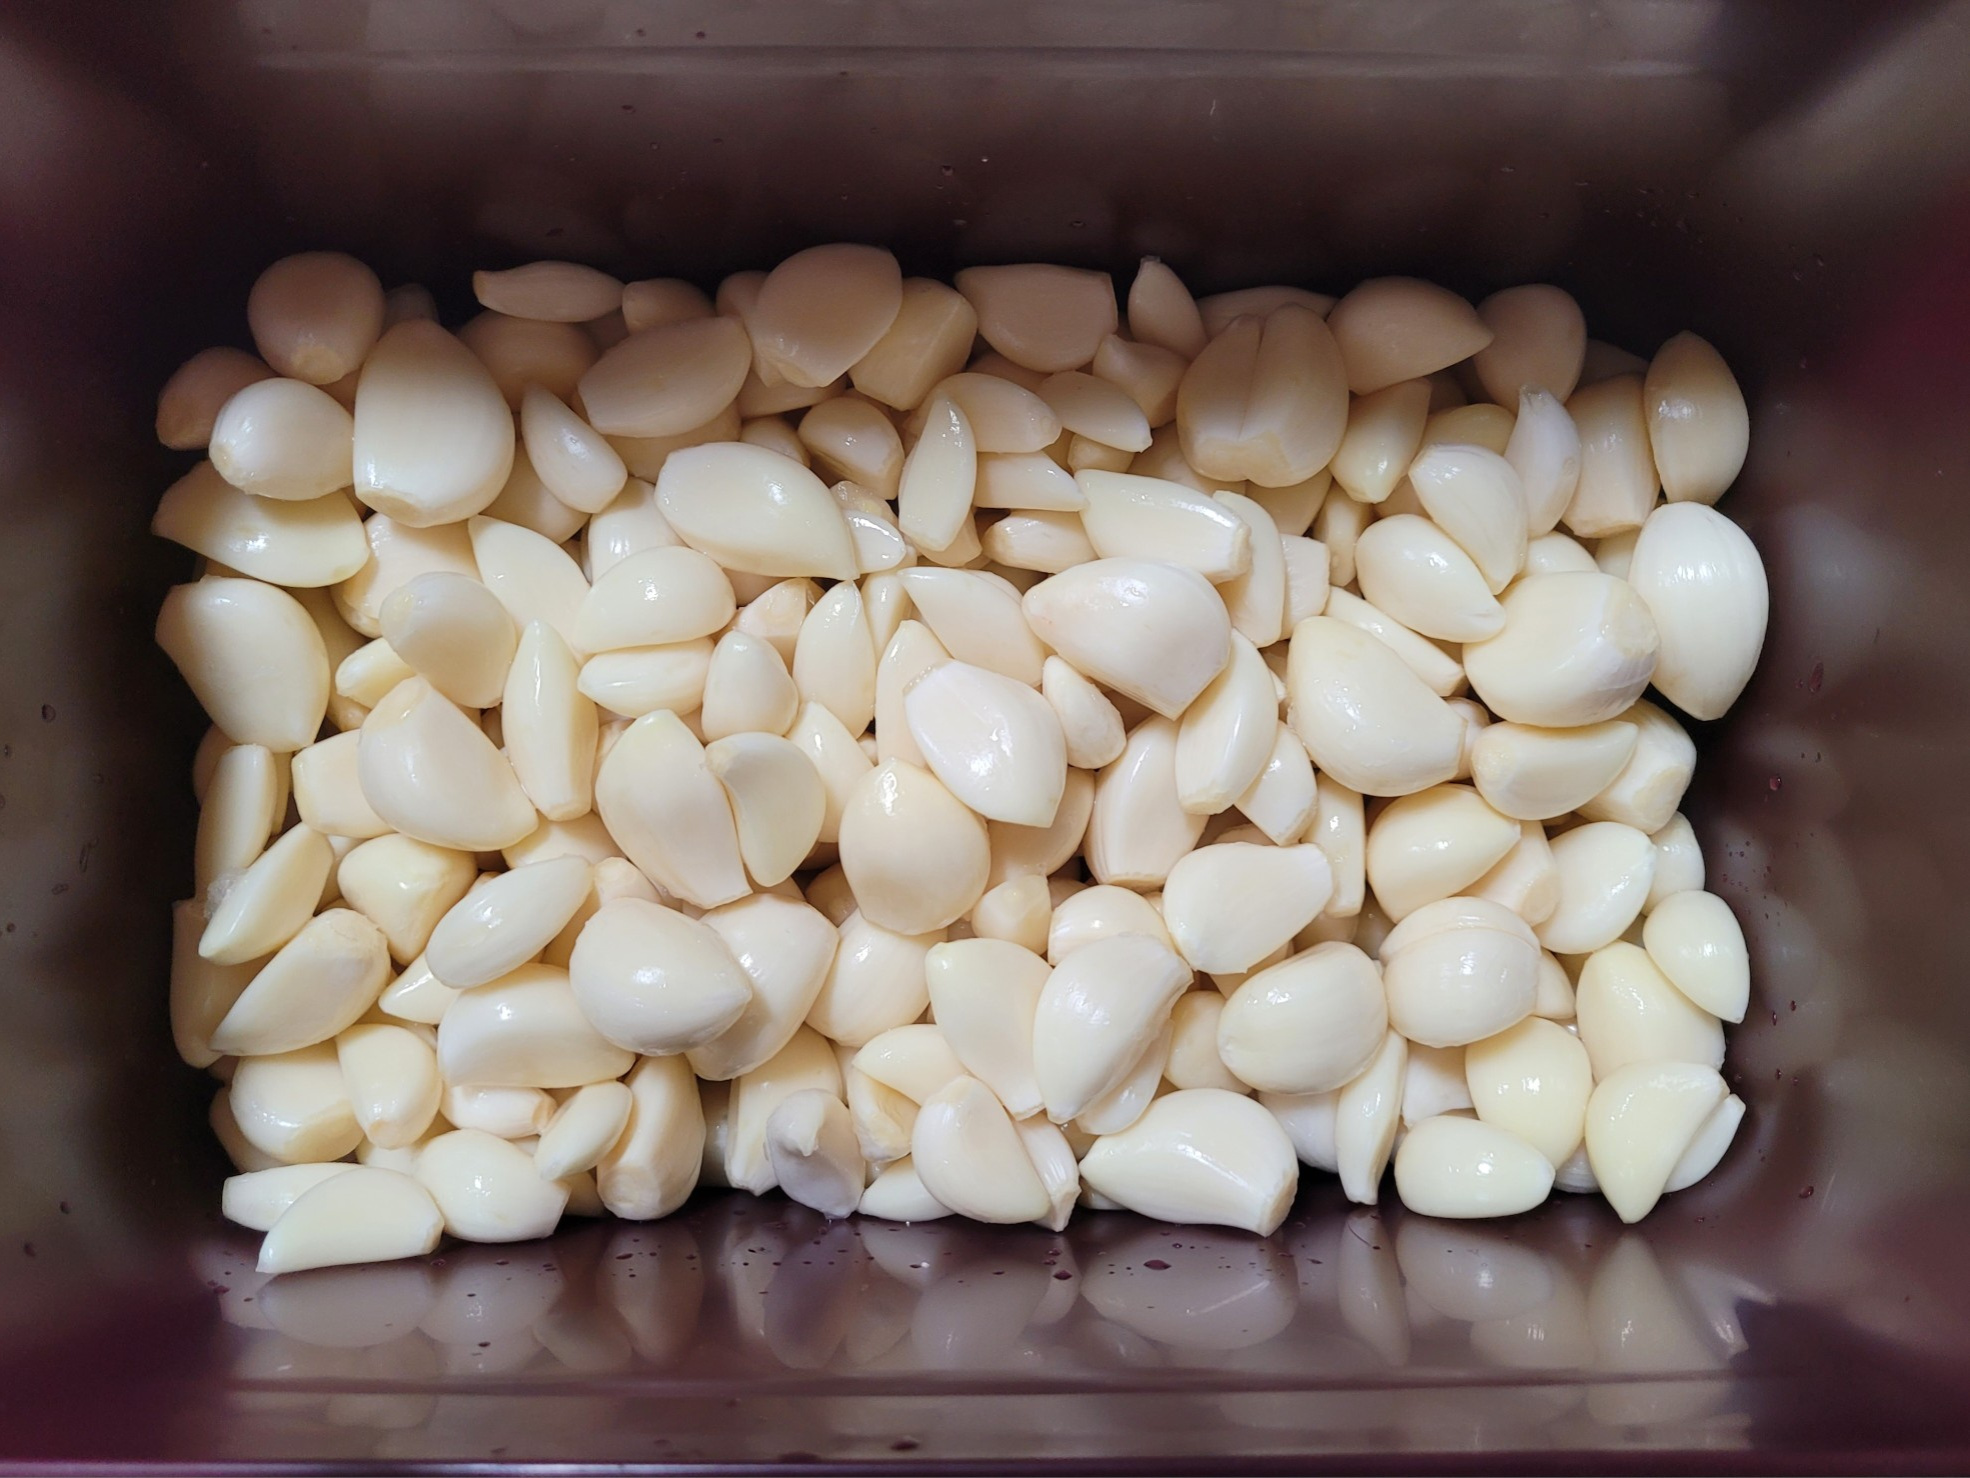 STEP 6/19I'm going to make the first pickle to remove the Arin flavor from the garlic. You can make the ratio of vinegar and water 1:1. 1L of vinegar in a bowl
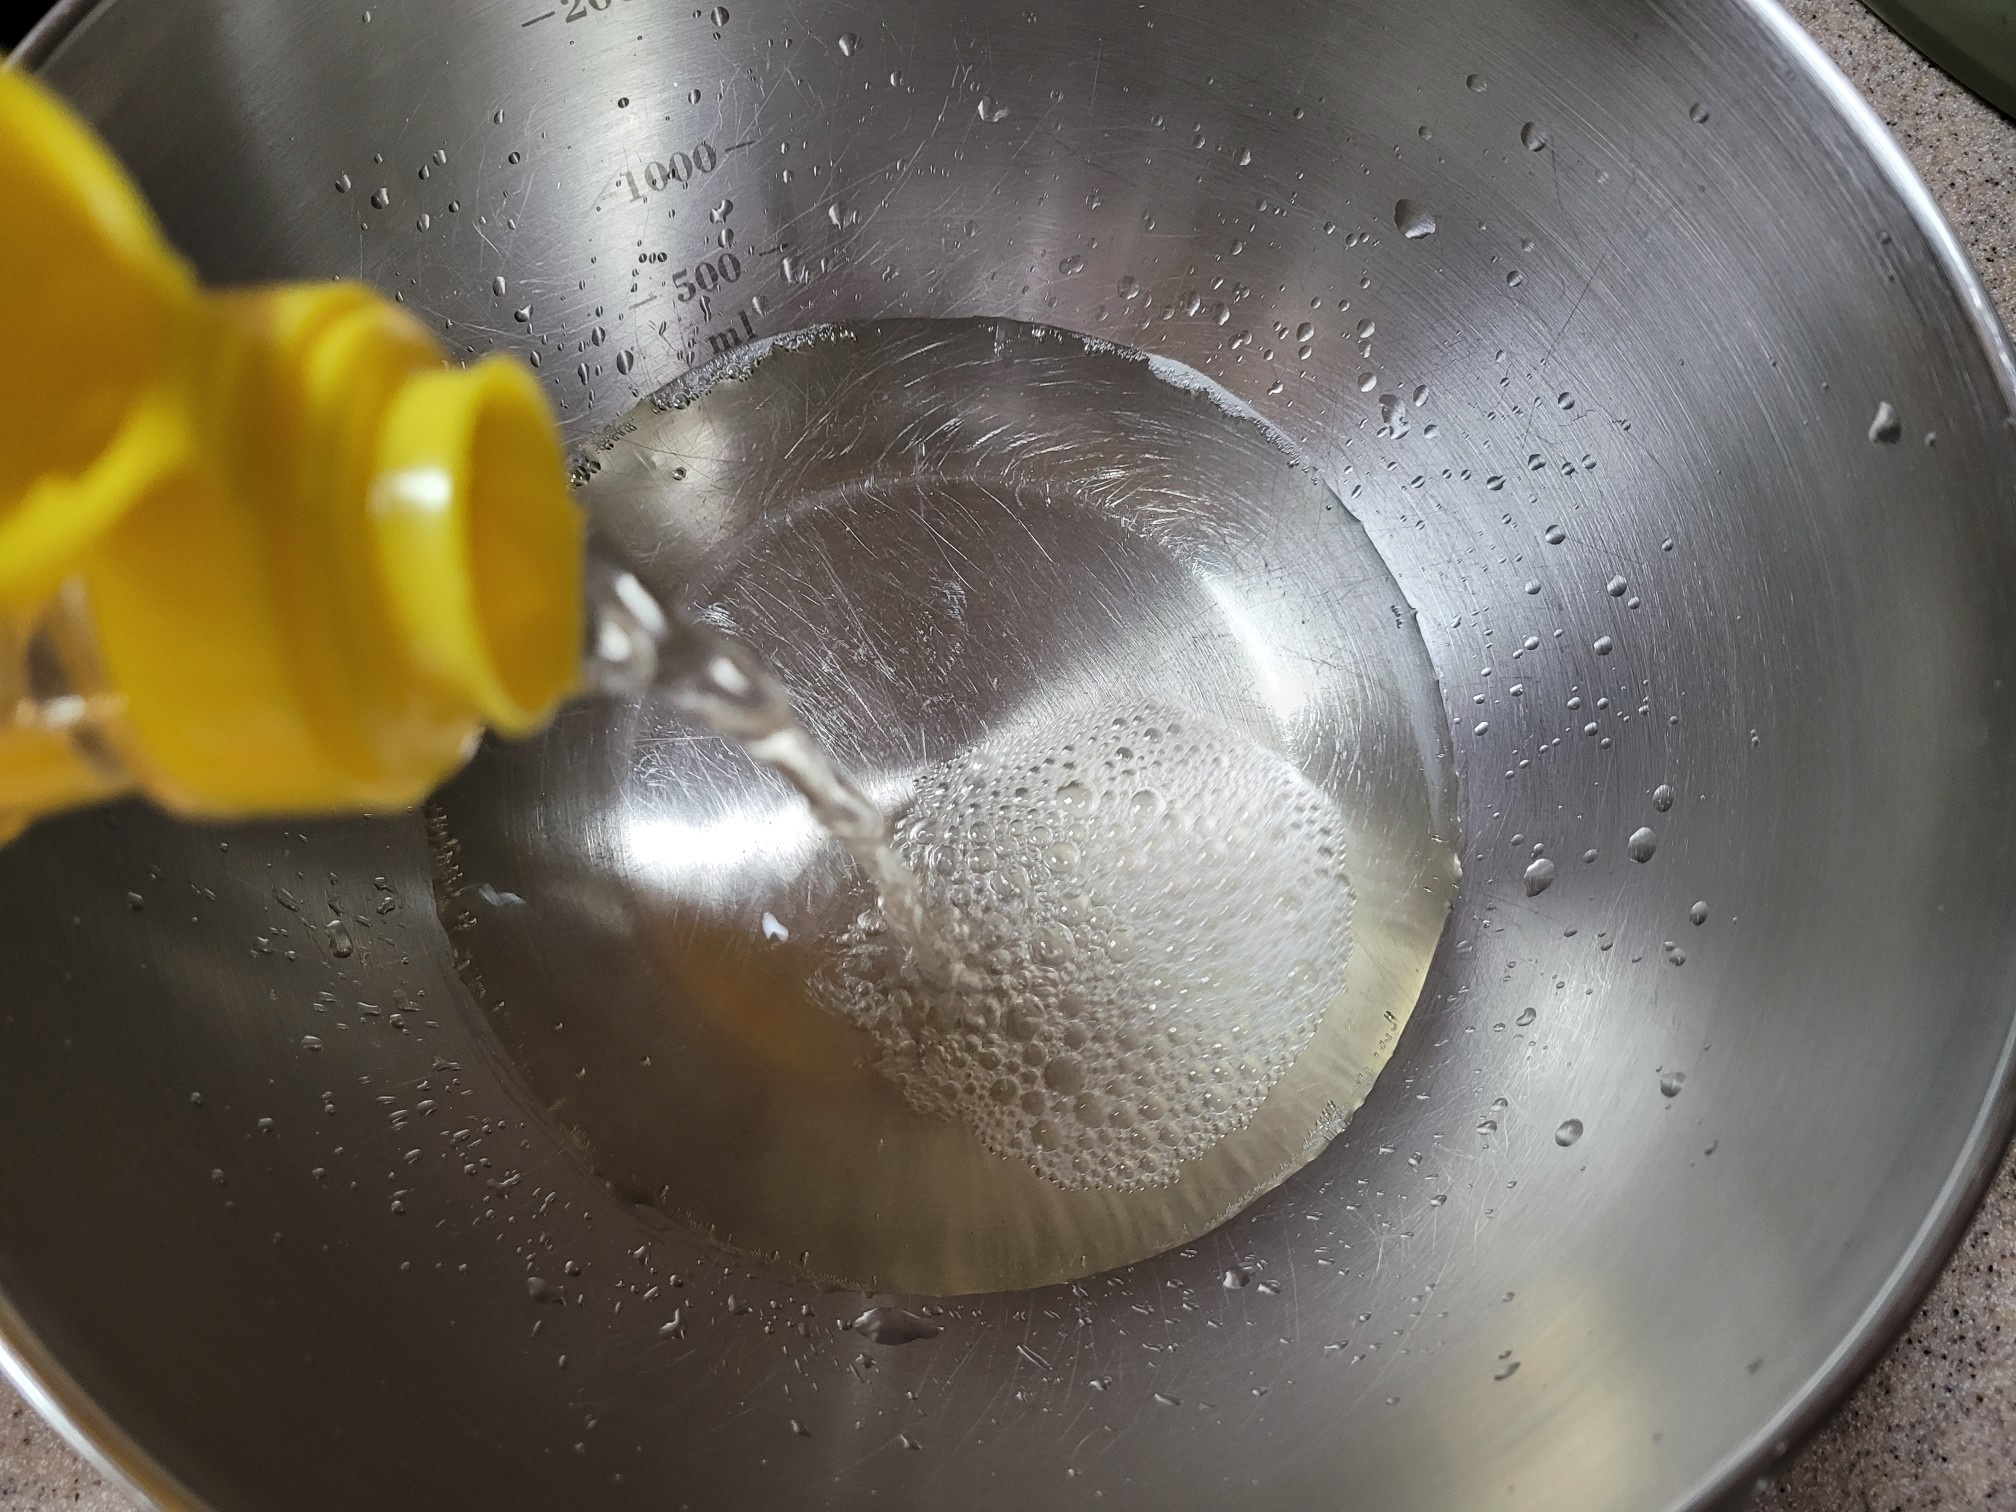 STEP 7/19I added 1L of water and mixed it to make a pickle.
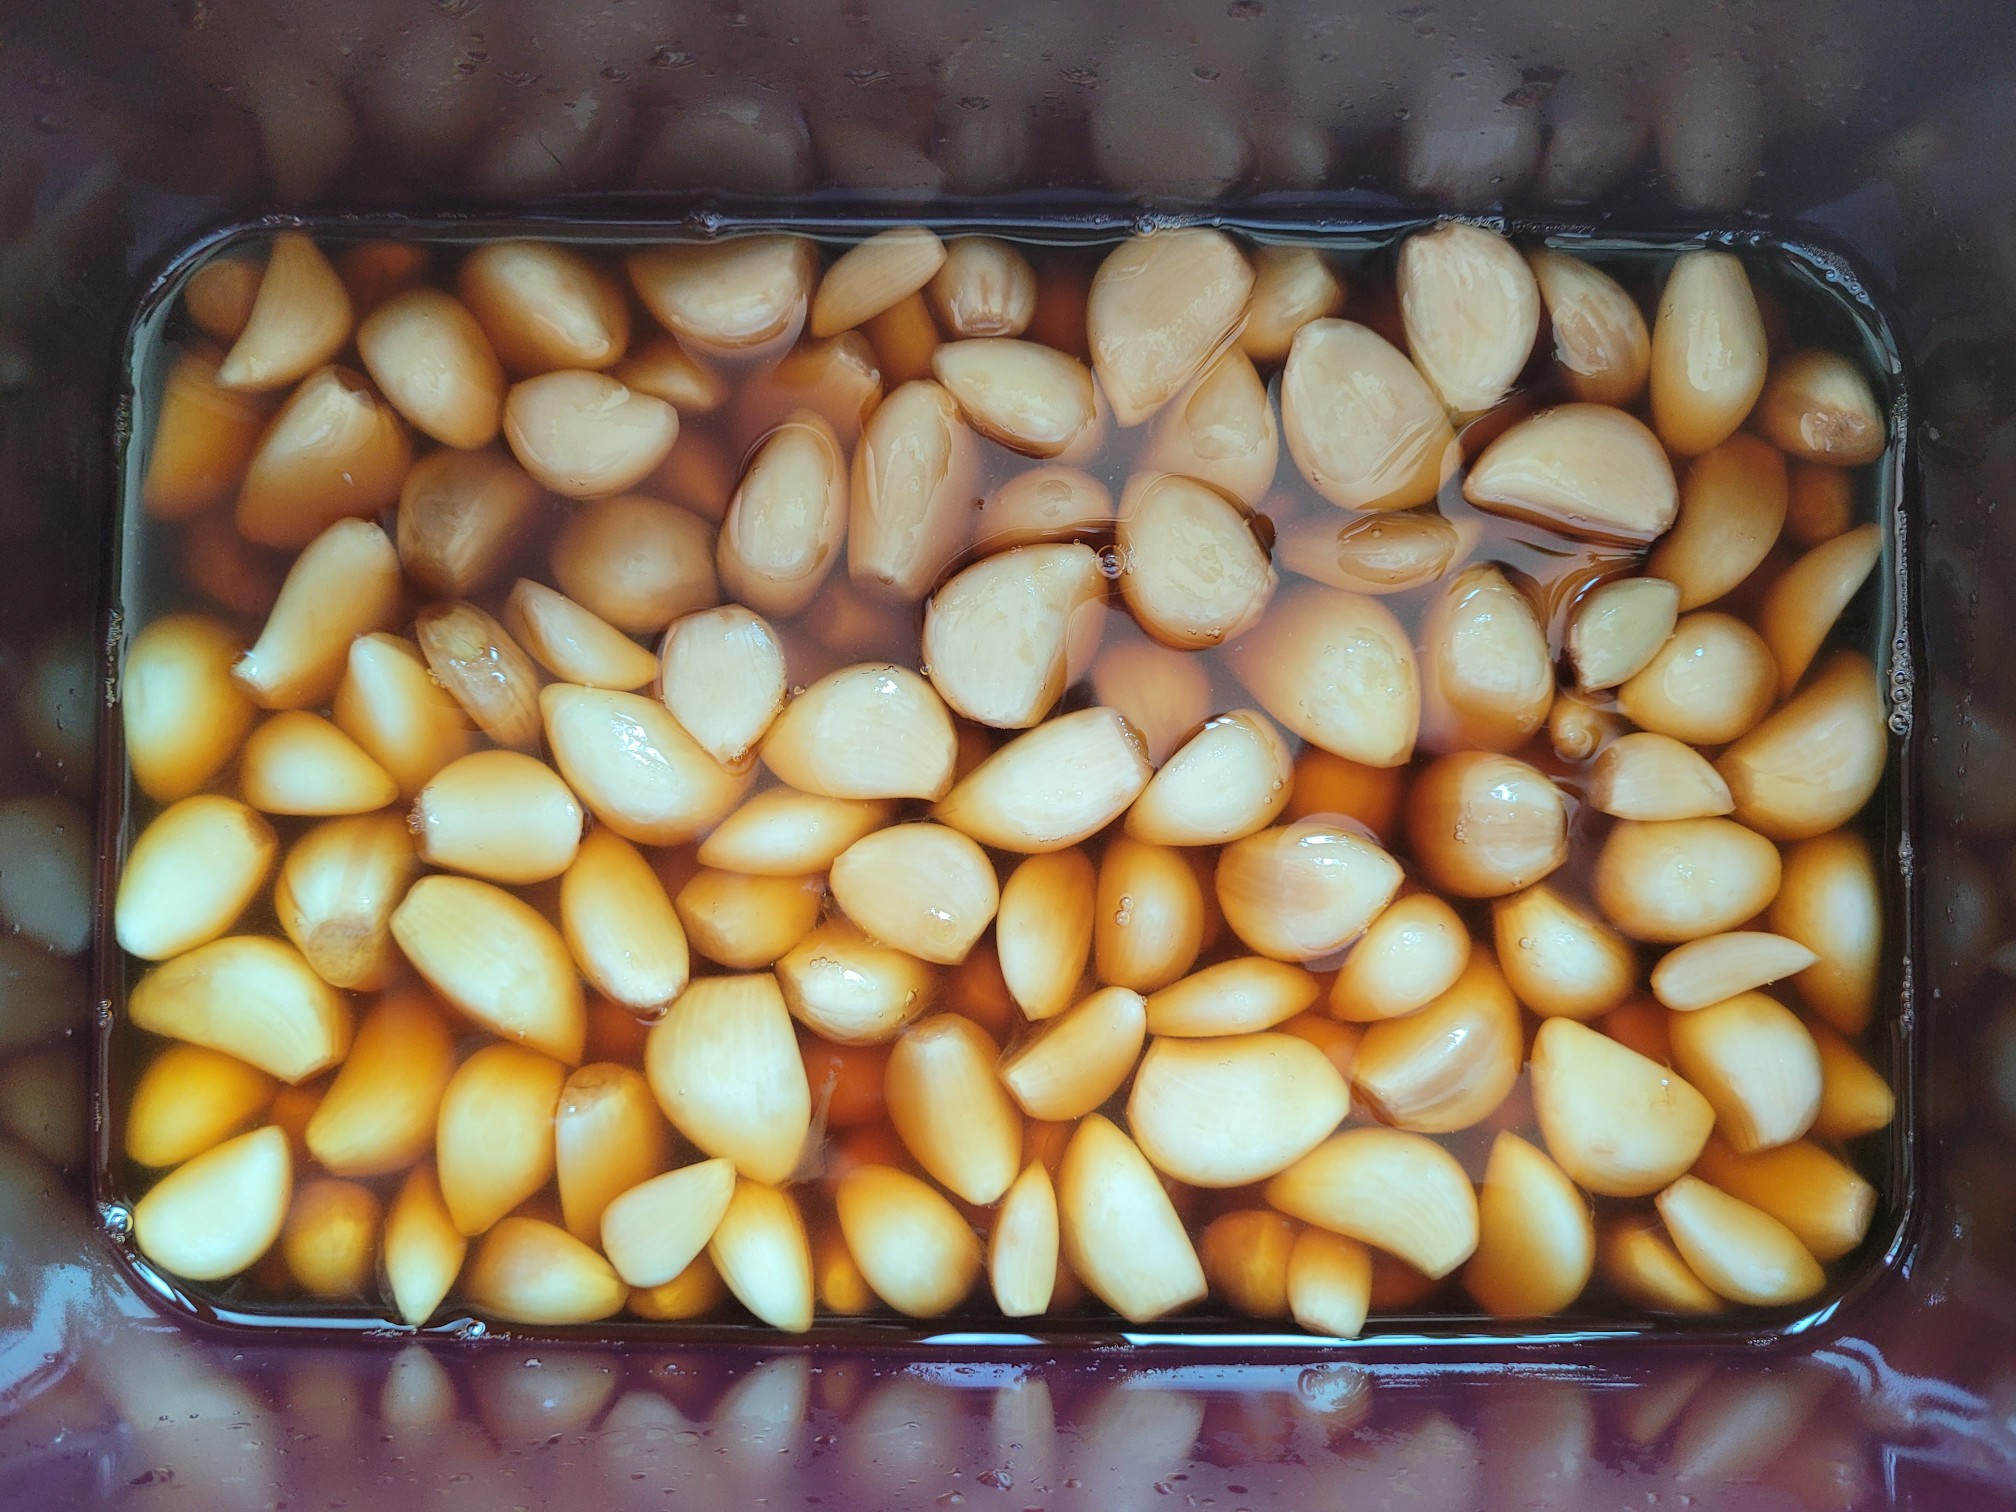
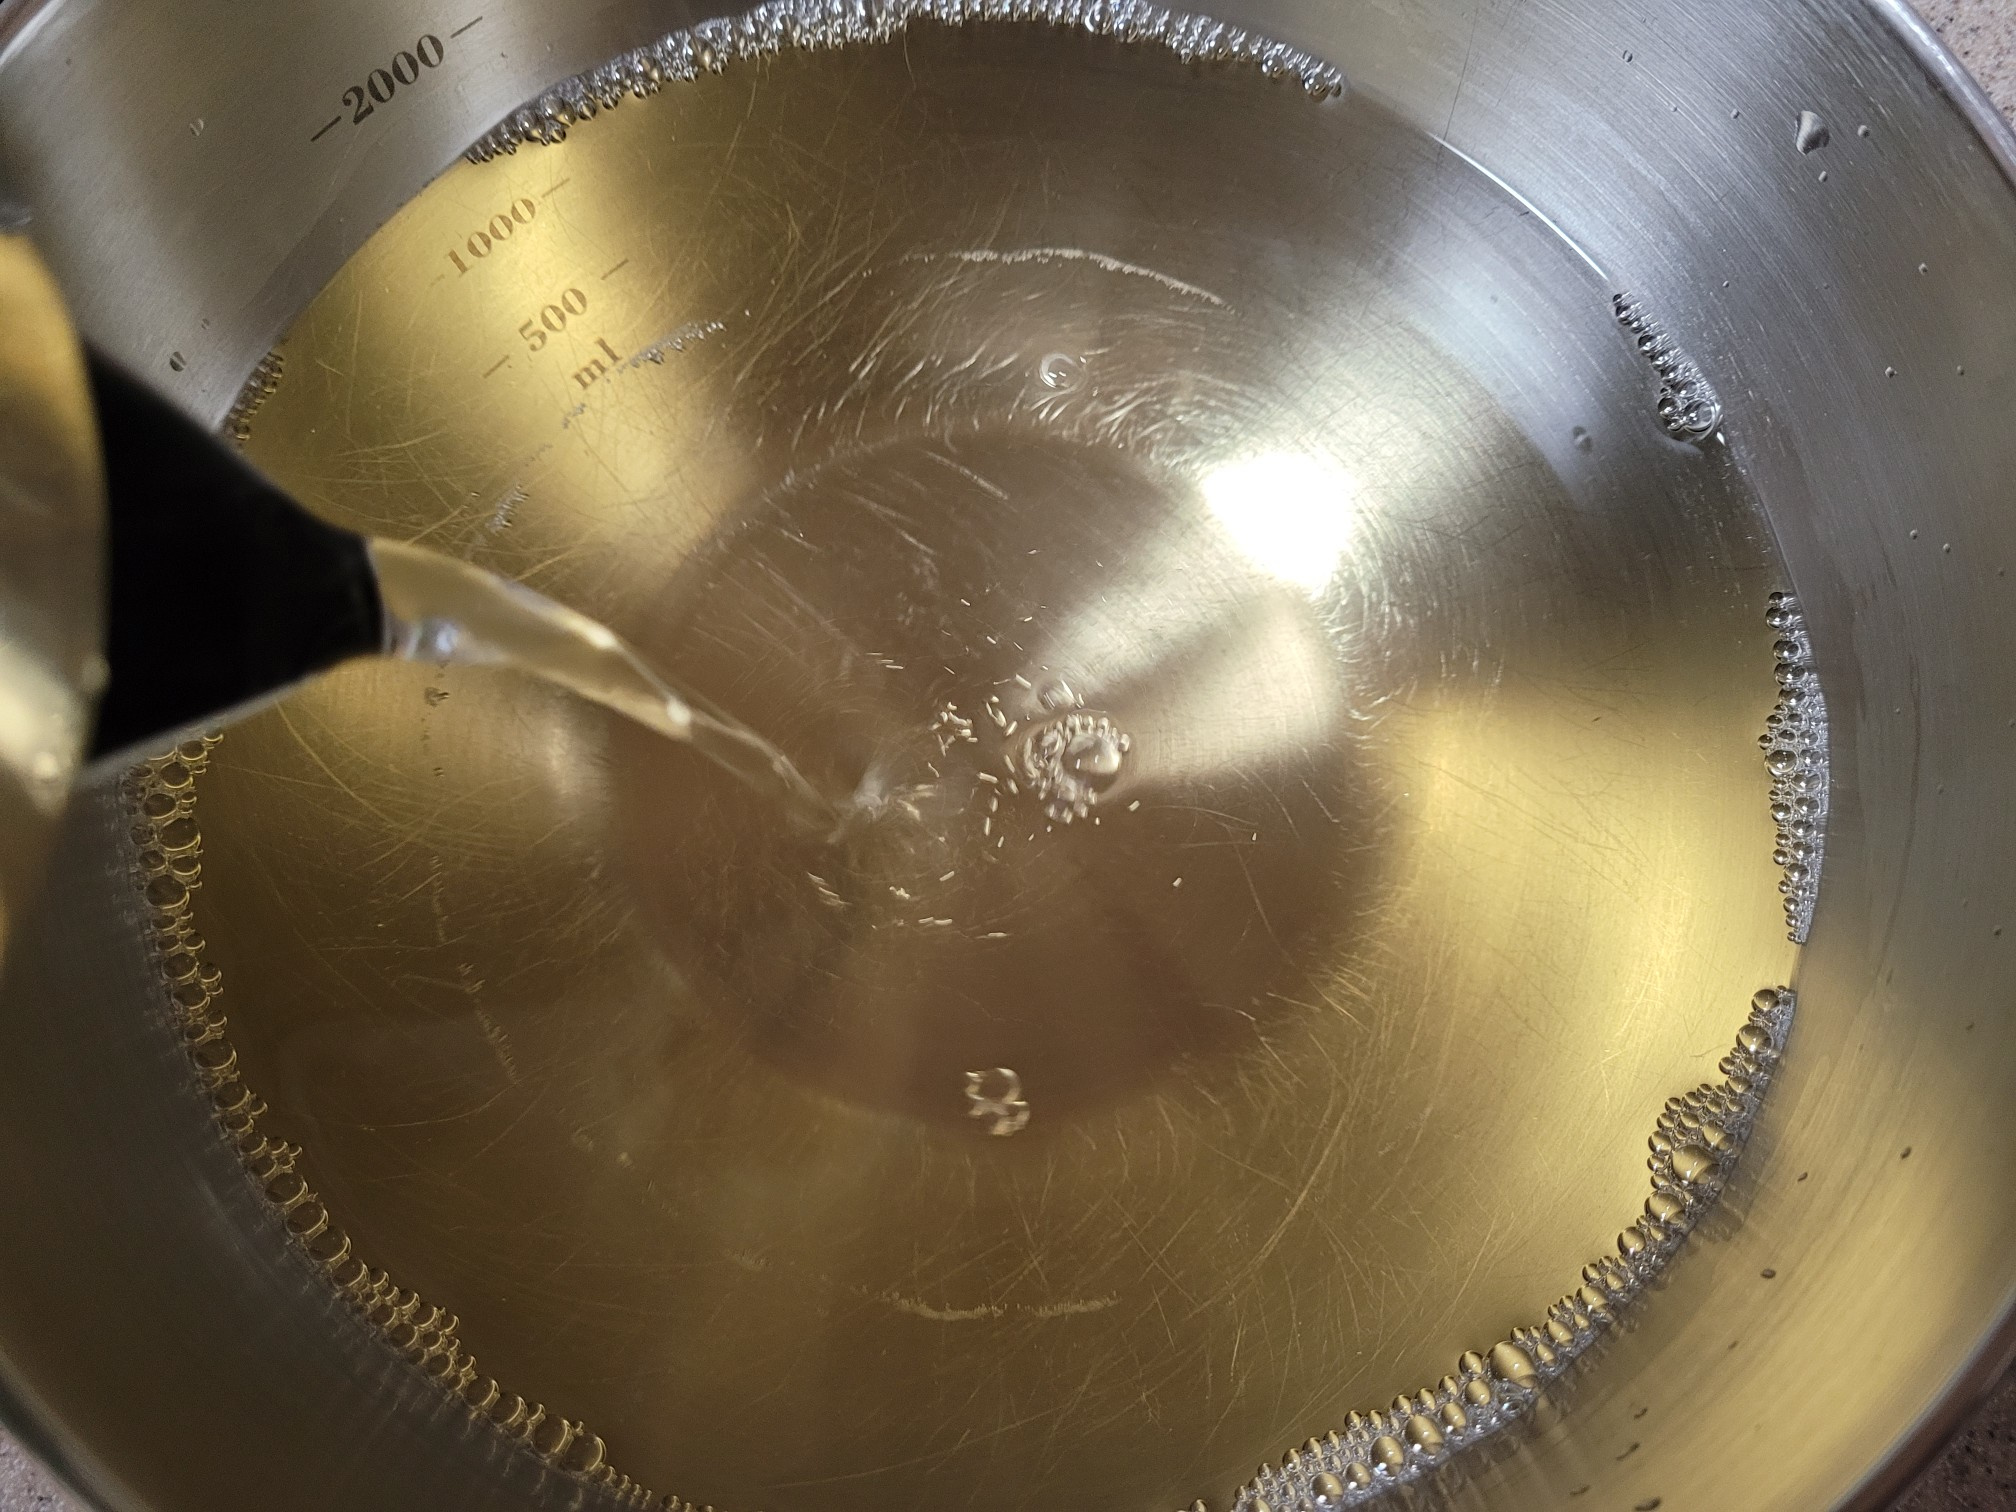 STEP 8/19Pour the pickles into the kimchi container to soak the garlic.
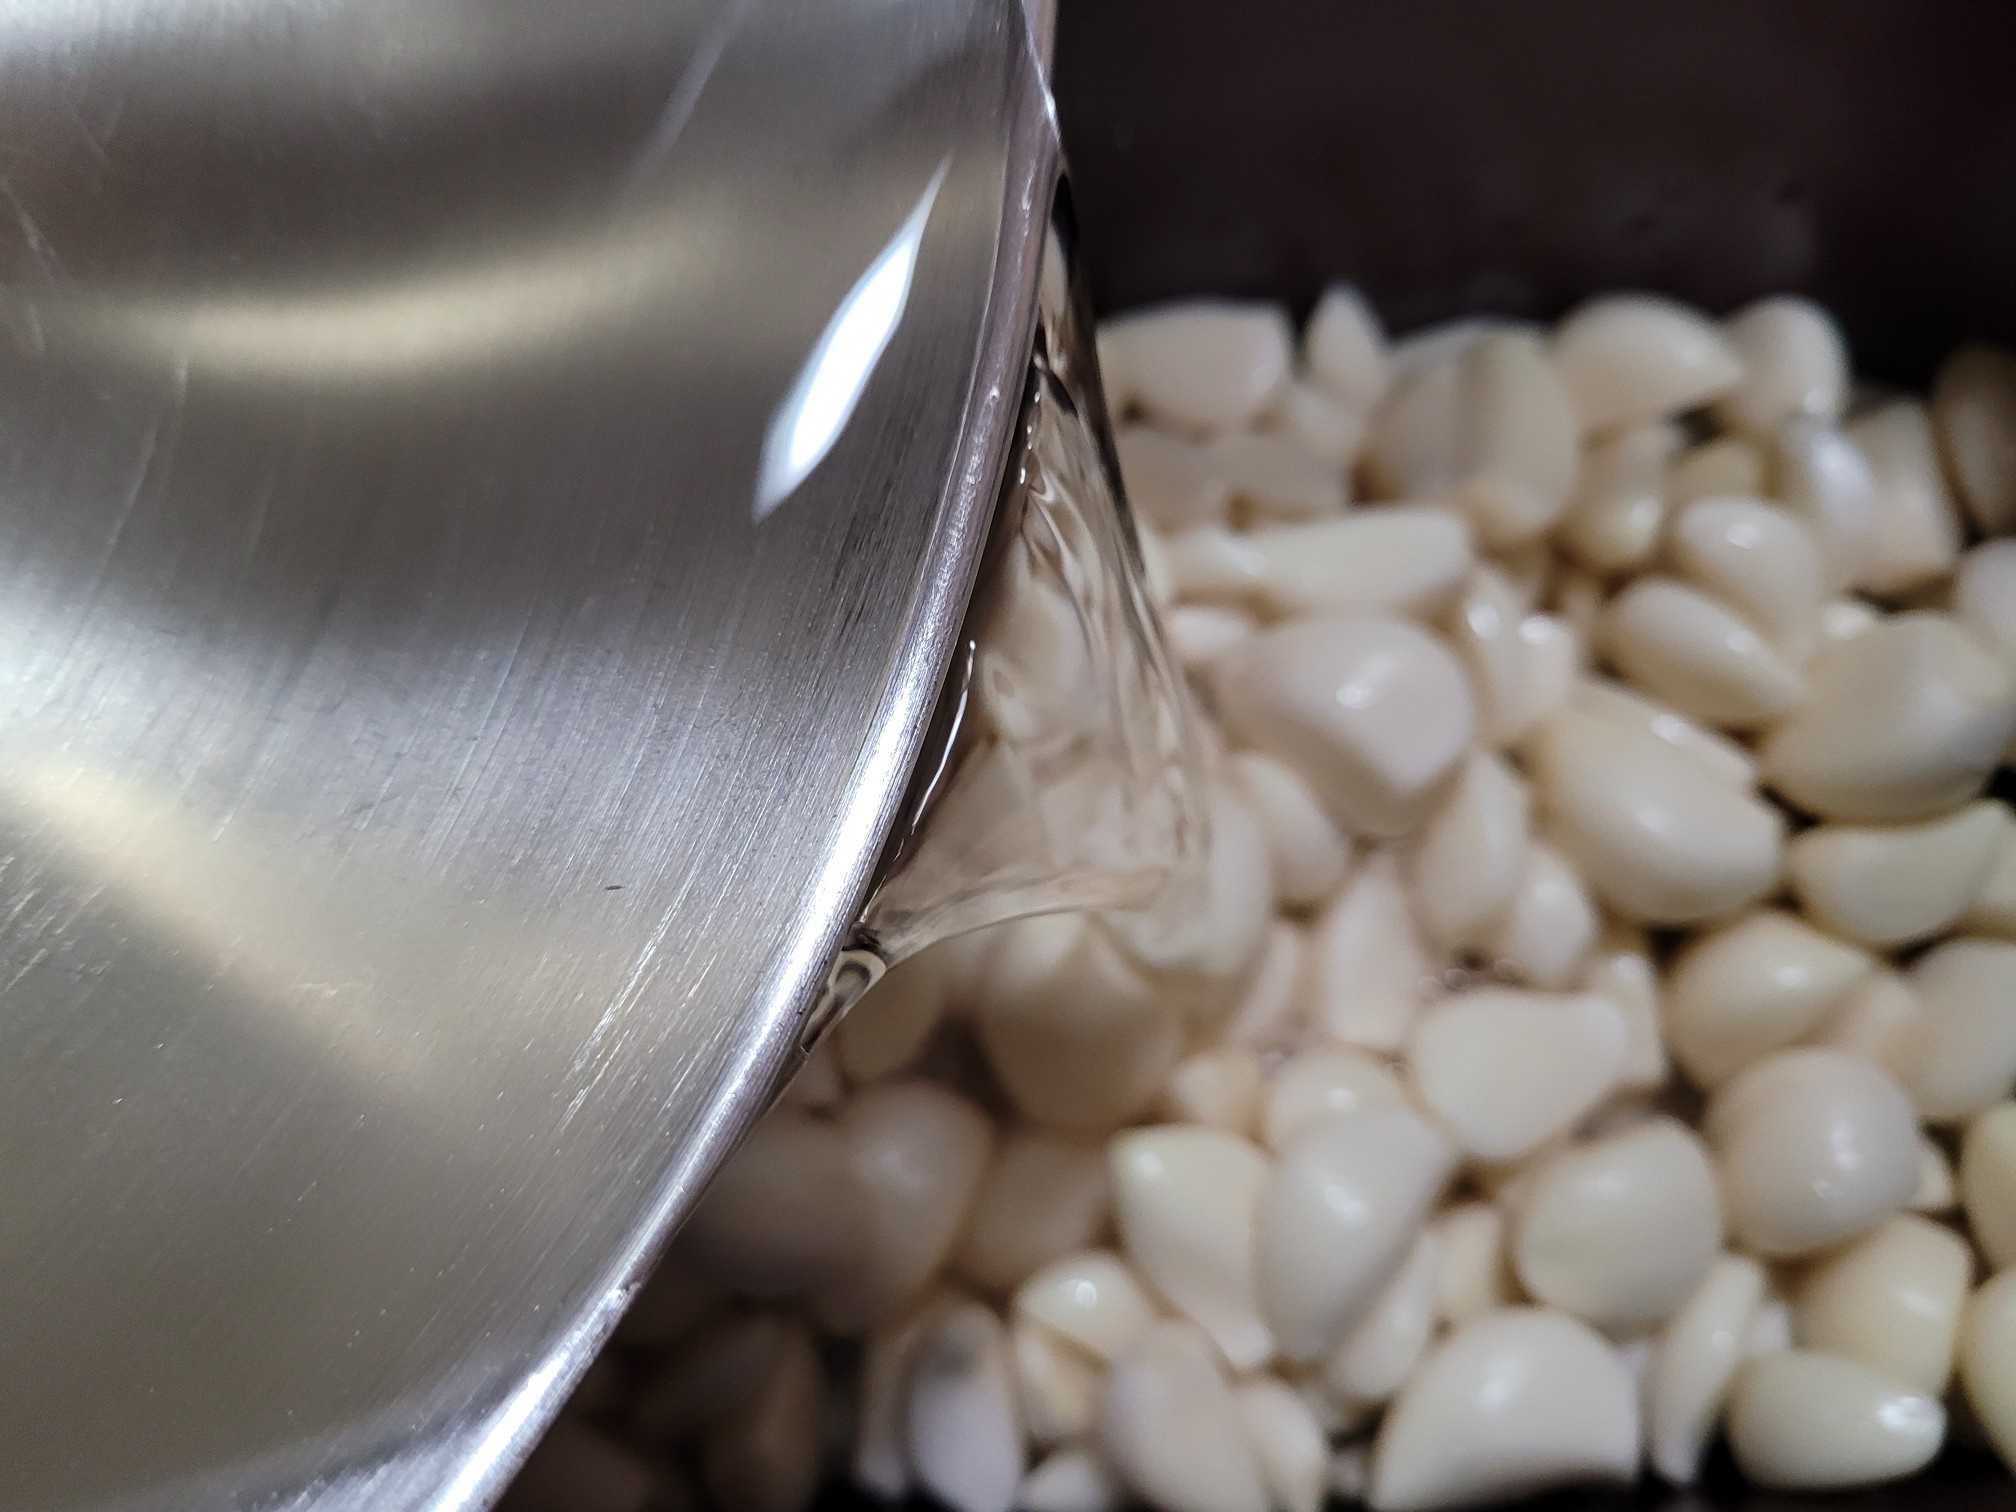 STEP 9/19The garlic in the pickles will be aged for two weeks.
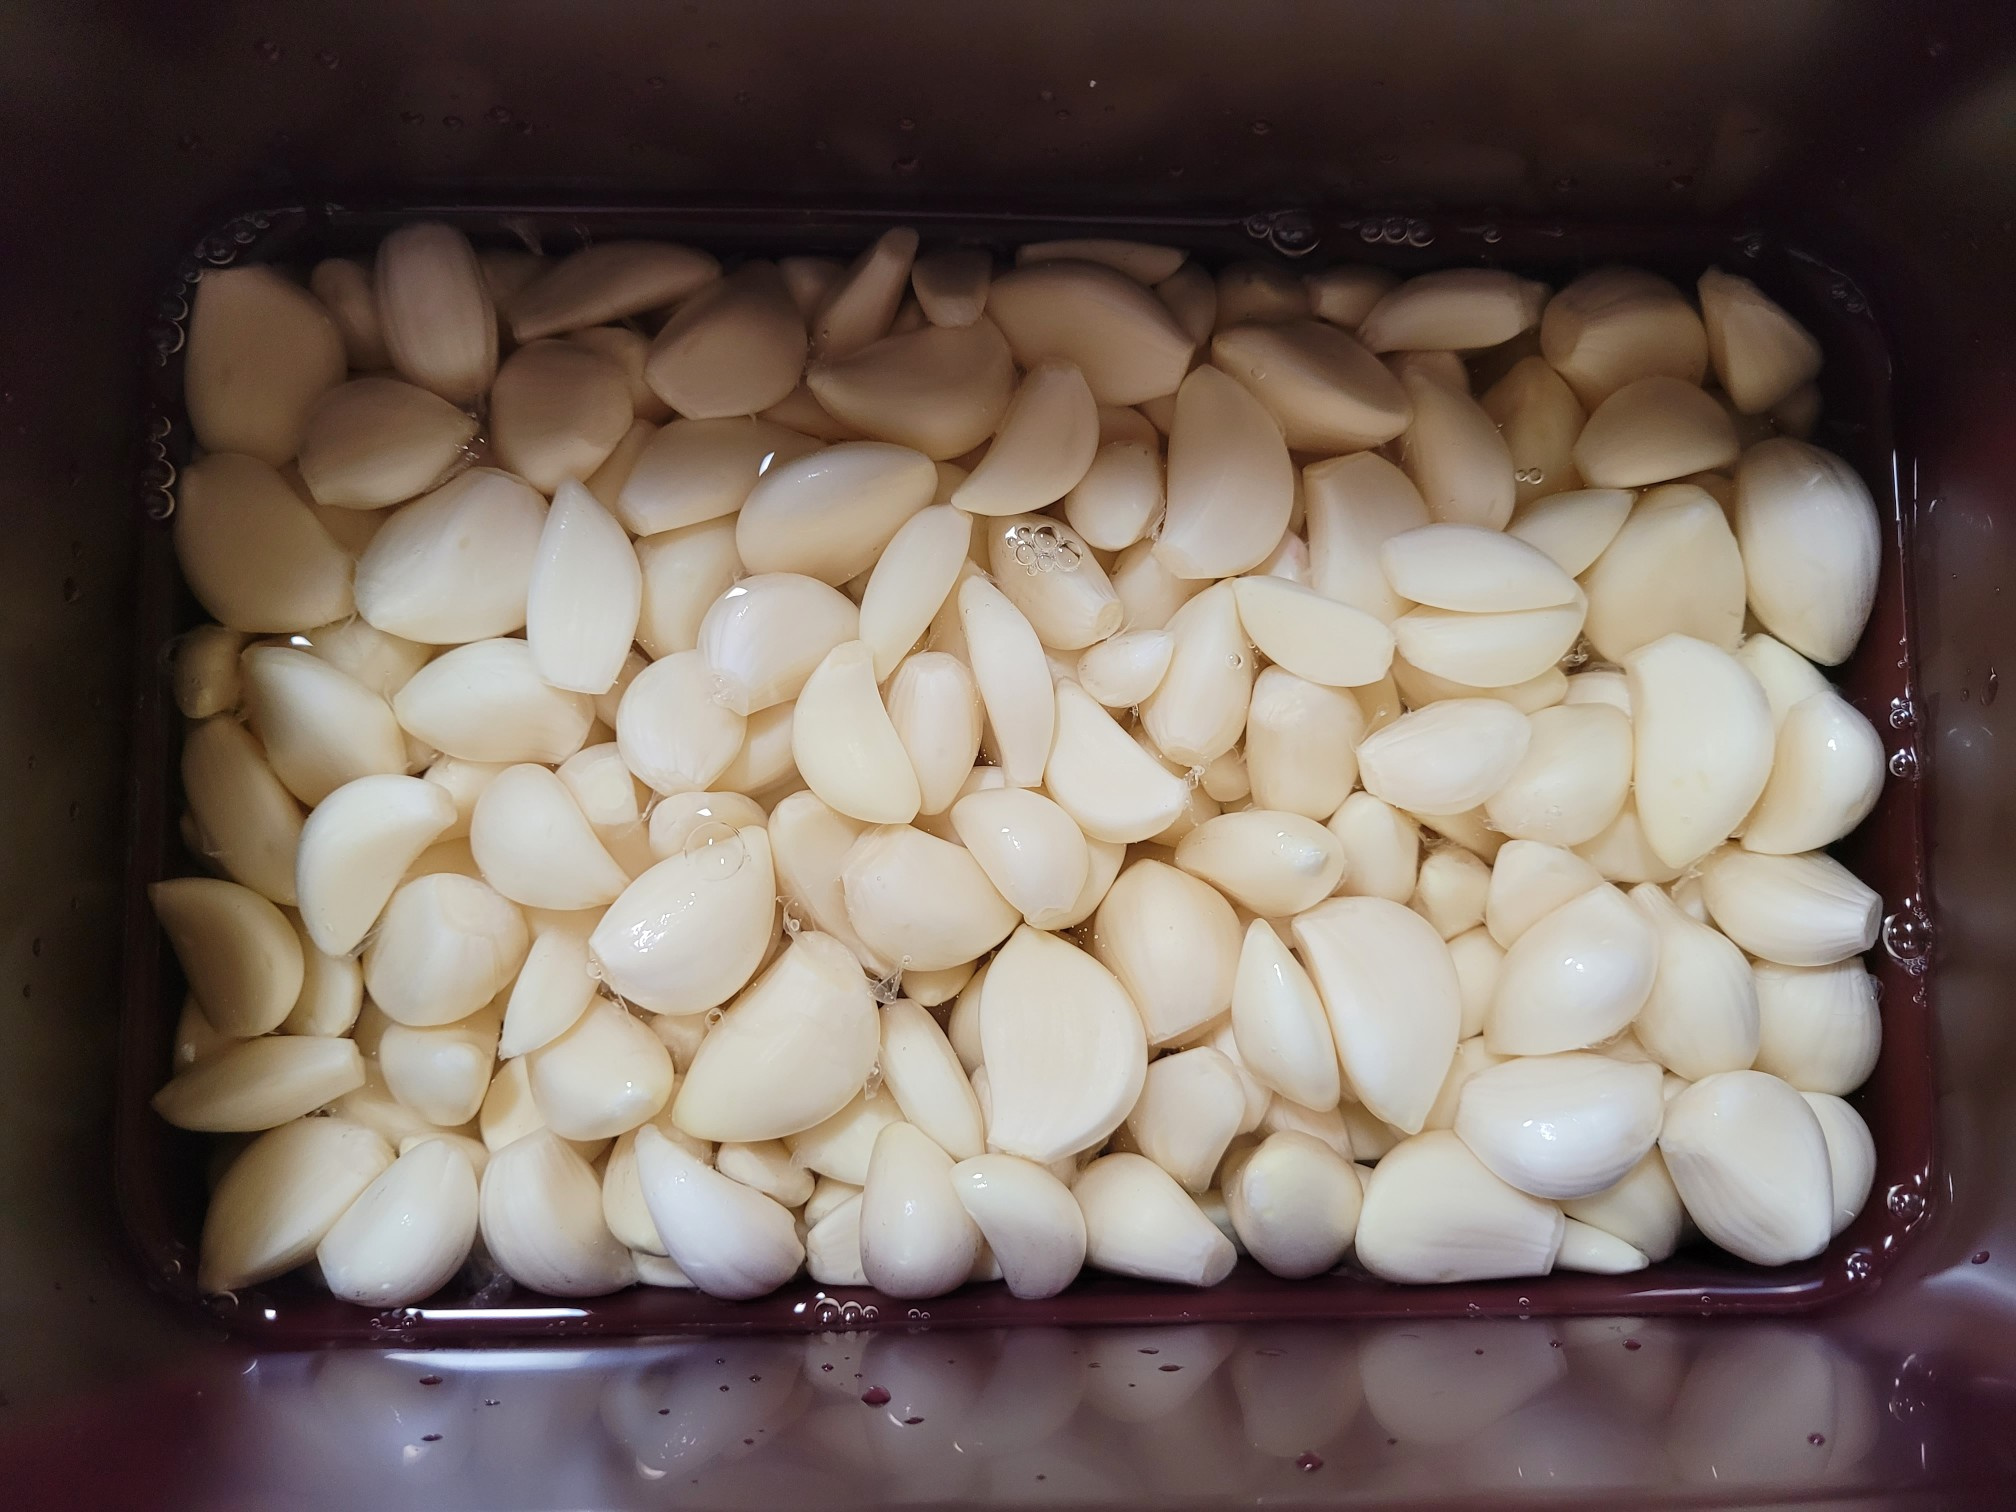 STEP 10/19When the garlic is exposed to light while it ripens, it turns green, so block the light and then ripen it in the dark for two weeks to remove the Arin flavor of the garlic. Even if garlic turns green, it won't interfere with eating, so don't worry
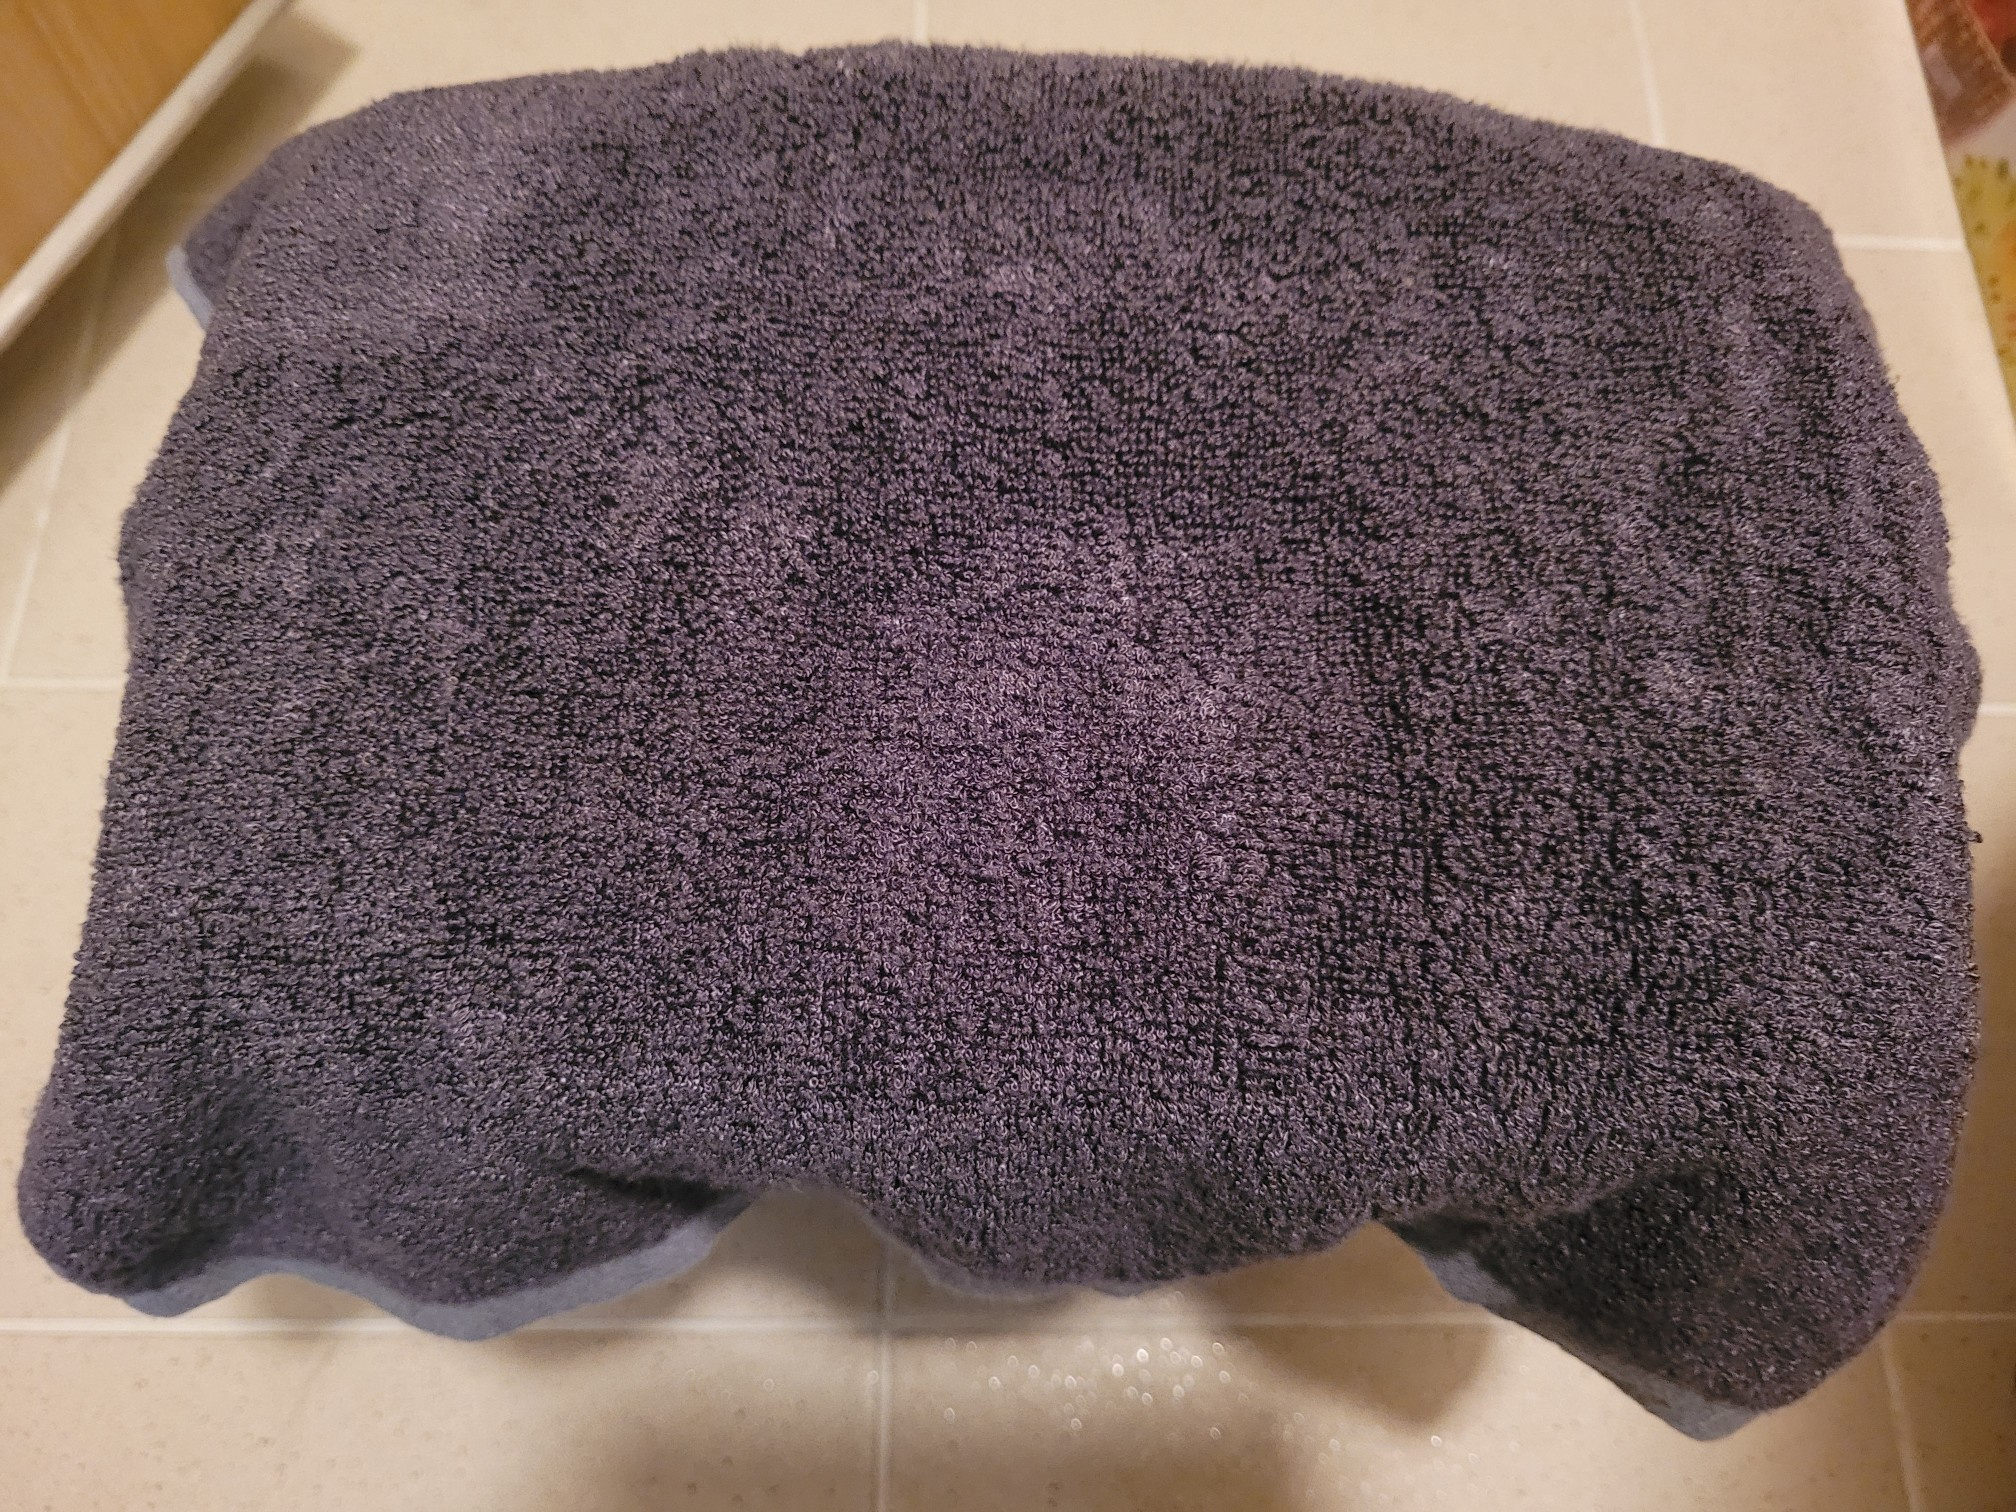 STEP 11/19It's garlic that's been aged for two weeks.
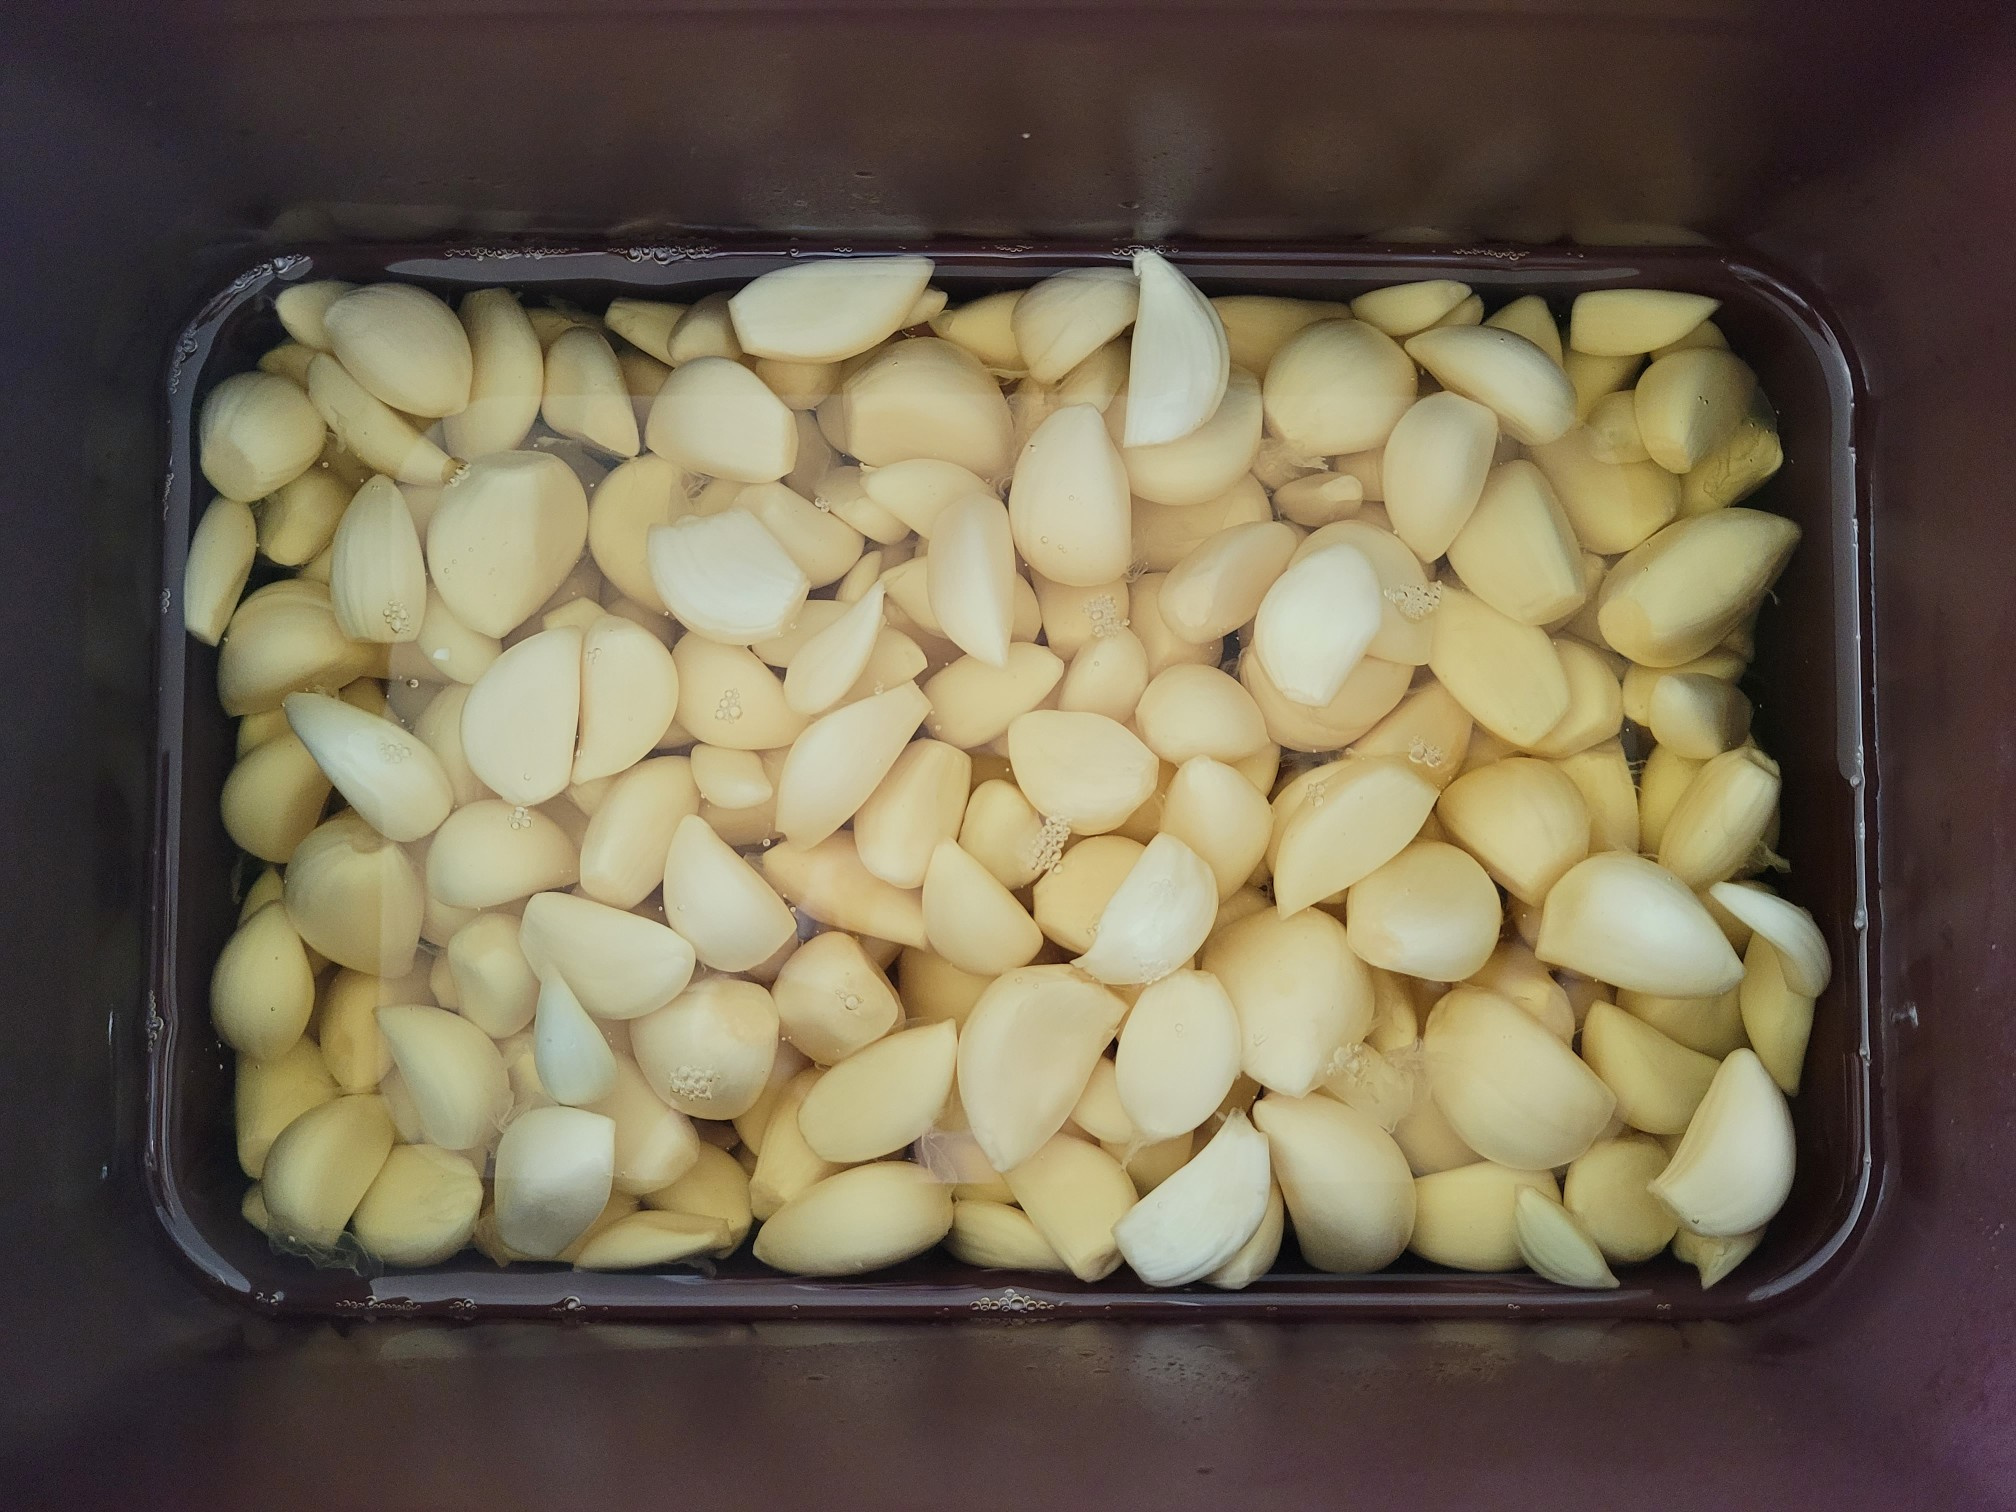 STEP 12/19Place the first pickled garlic in a strainer and drain.
 STEP 13/19Half of the 2L of the 1st pickle is used for the 2nd pickle, so keep it for a while.
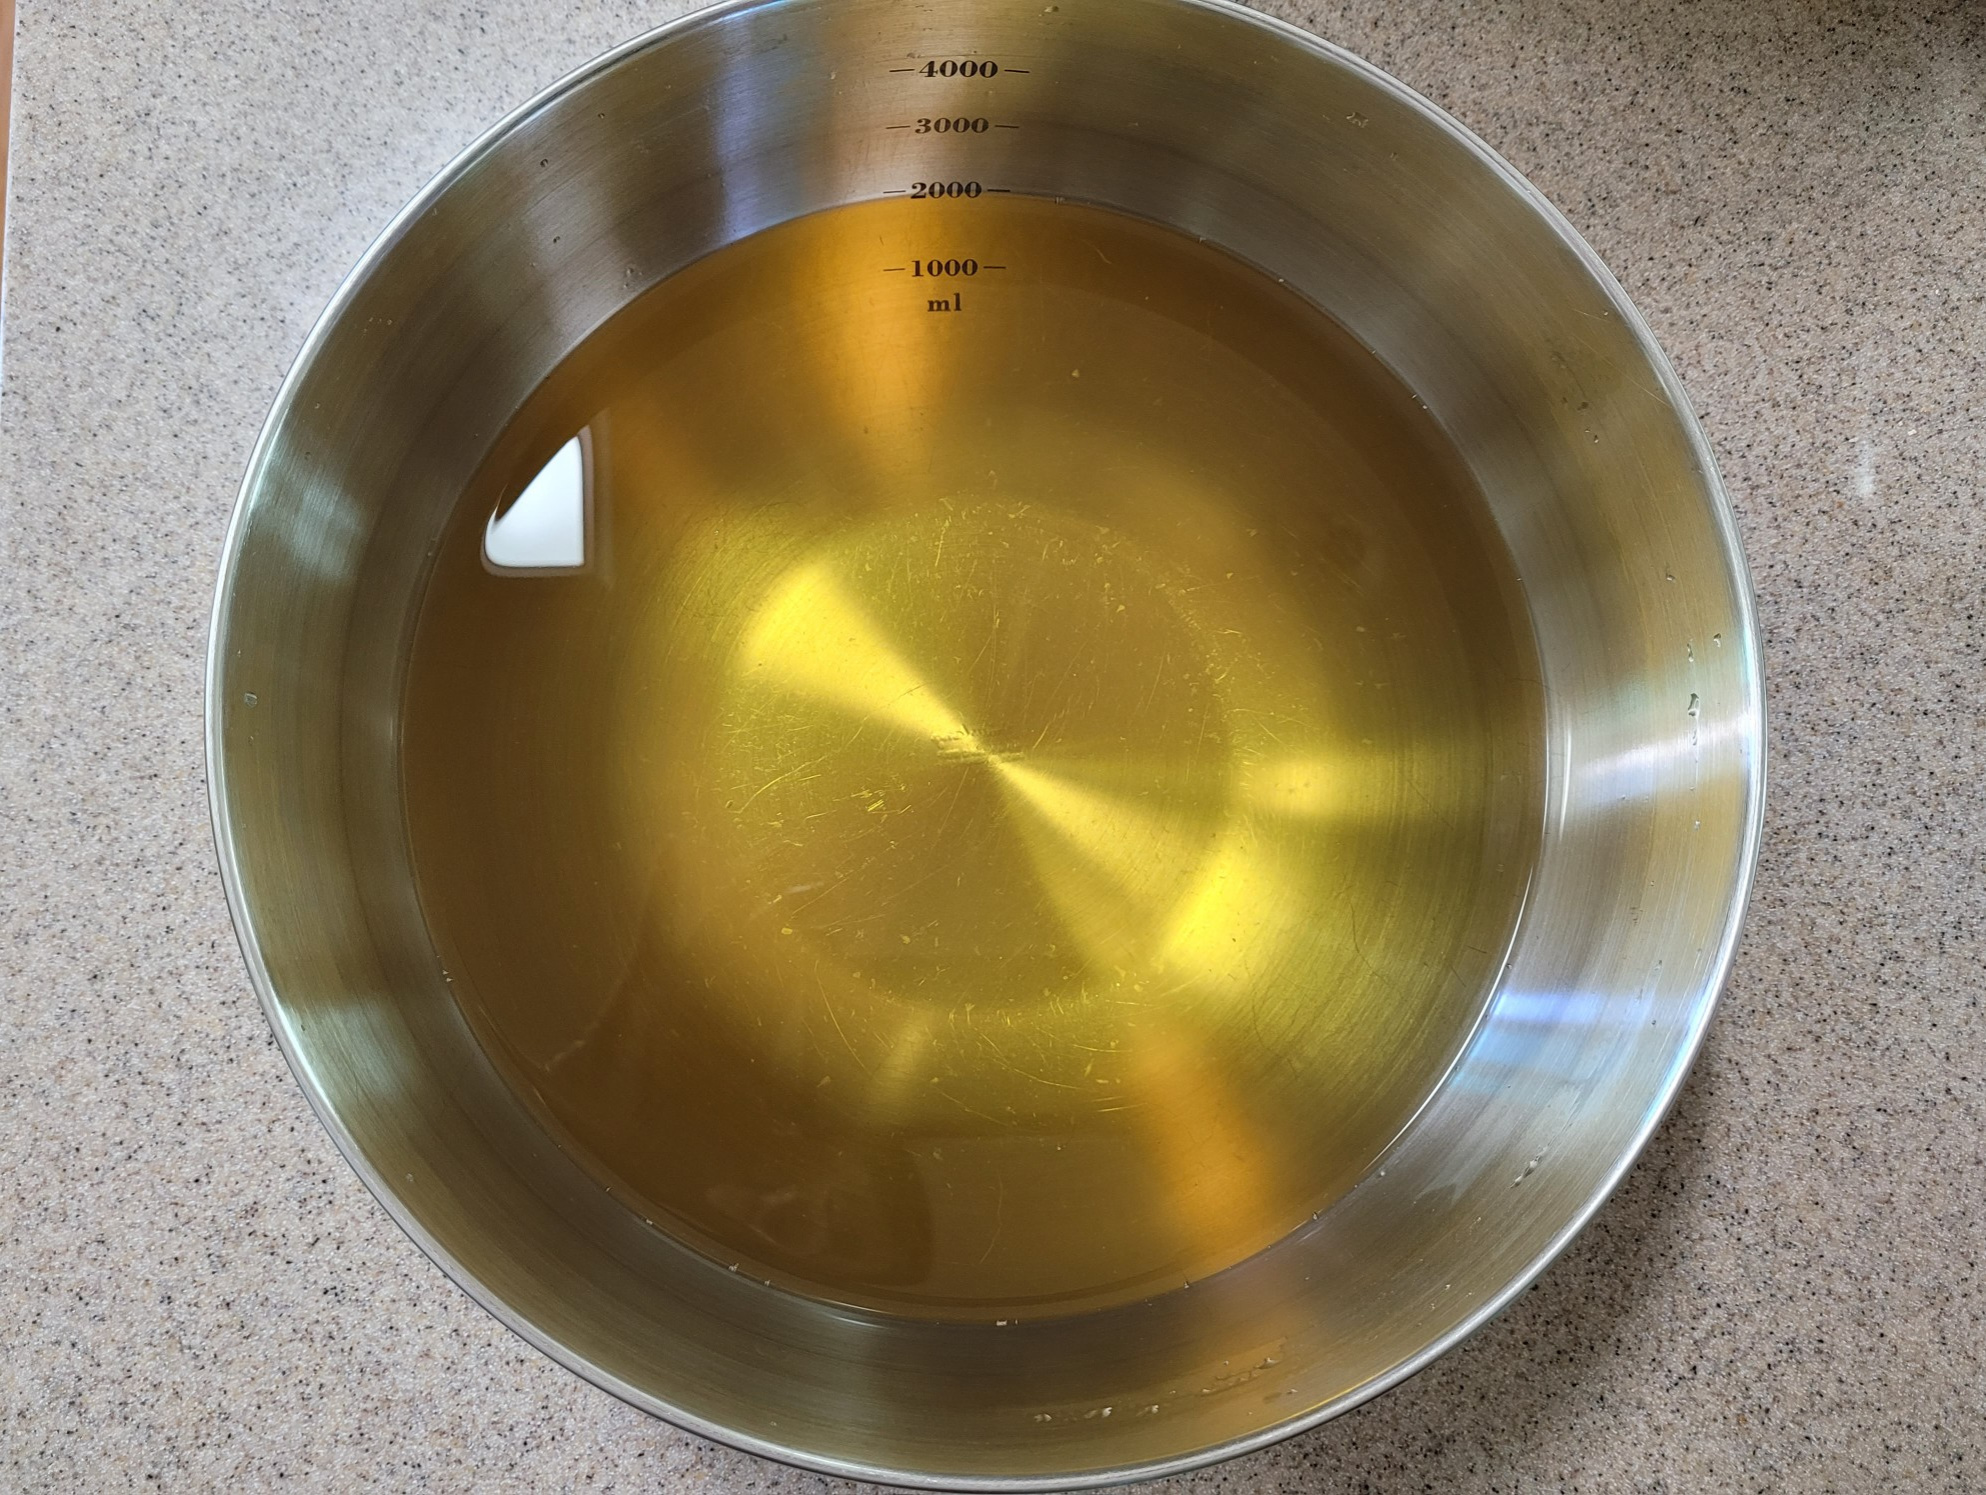 STEP 14/19Pour 1L of the first pickle, 500ml of sugar, 500ml of soju, and 250ml of soy sauce into a pot. The ratio of the second pickle is the ratio of the first pickle 2: sugar 1: soju 1: soy sauce 0.
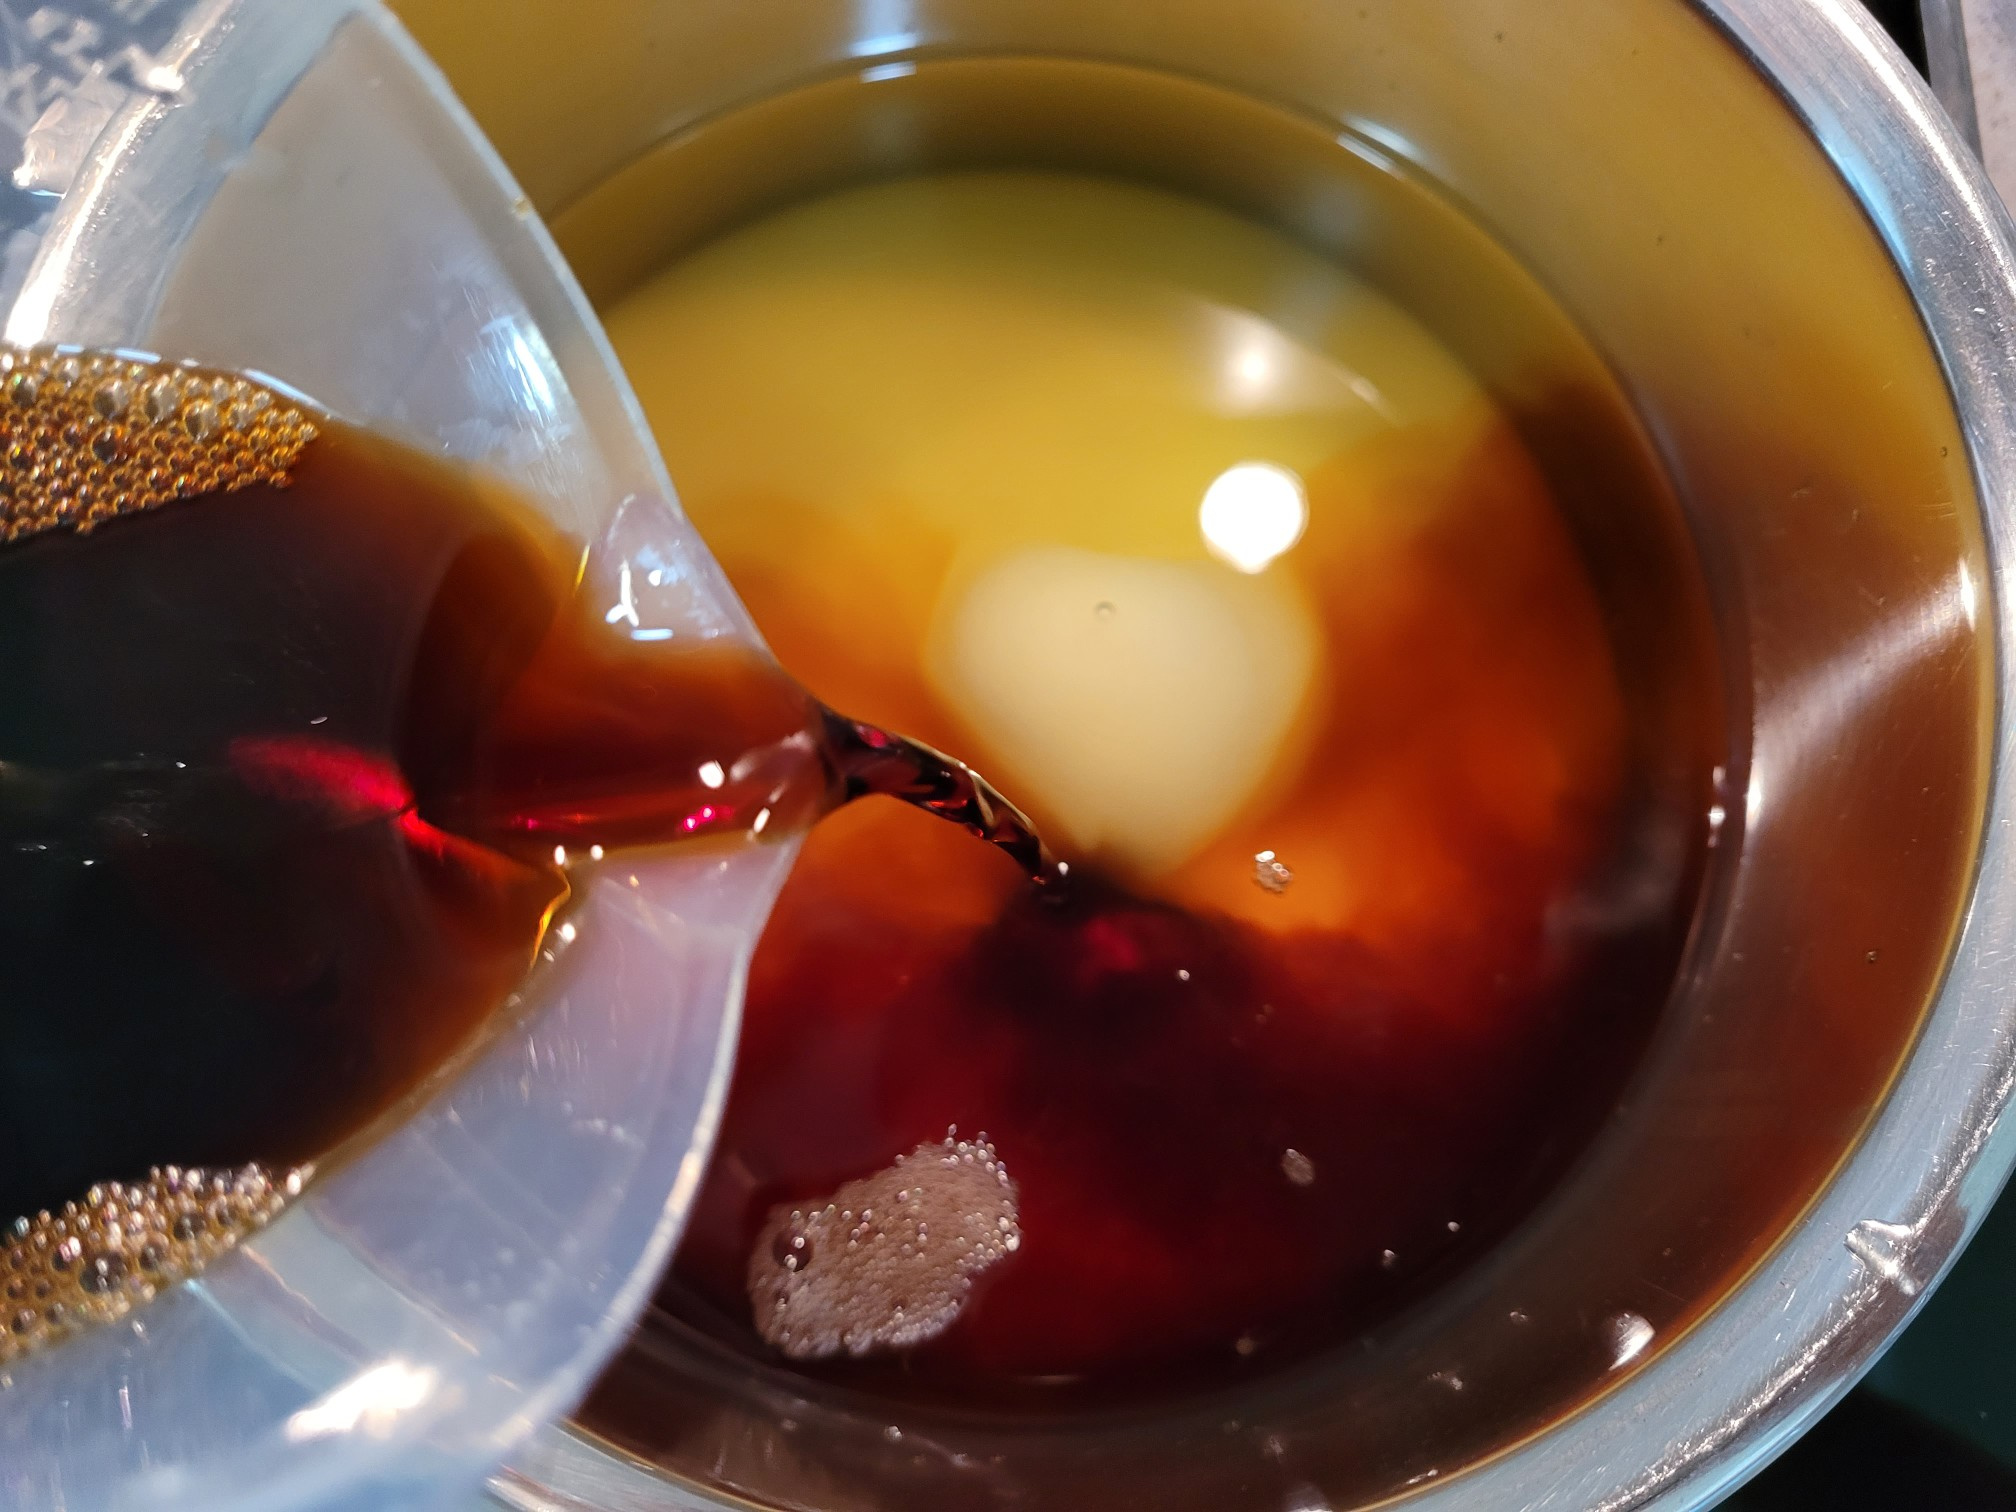 STEP 15/19First, boil the pickles, sugar, and soy sauce until the sugar melts
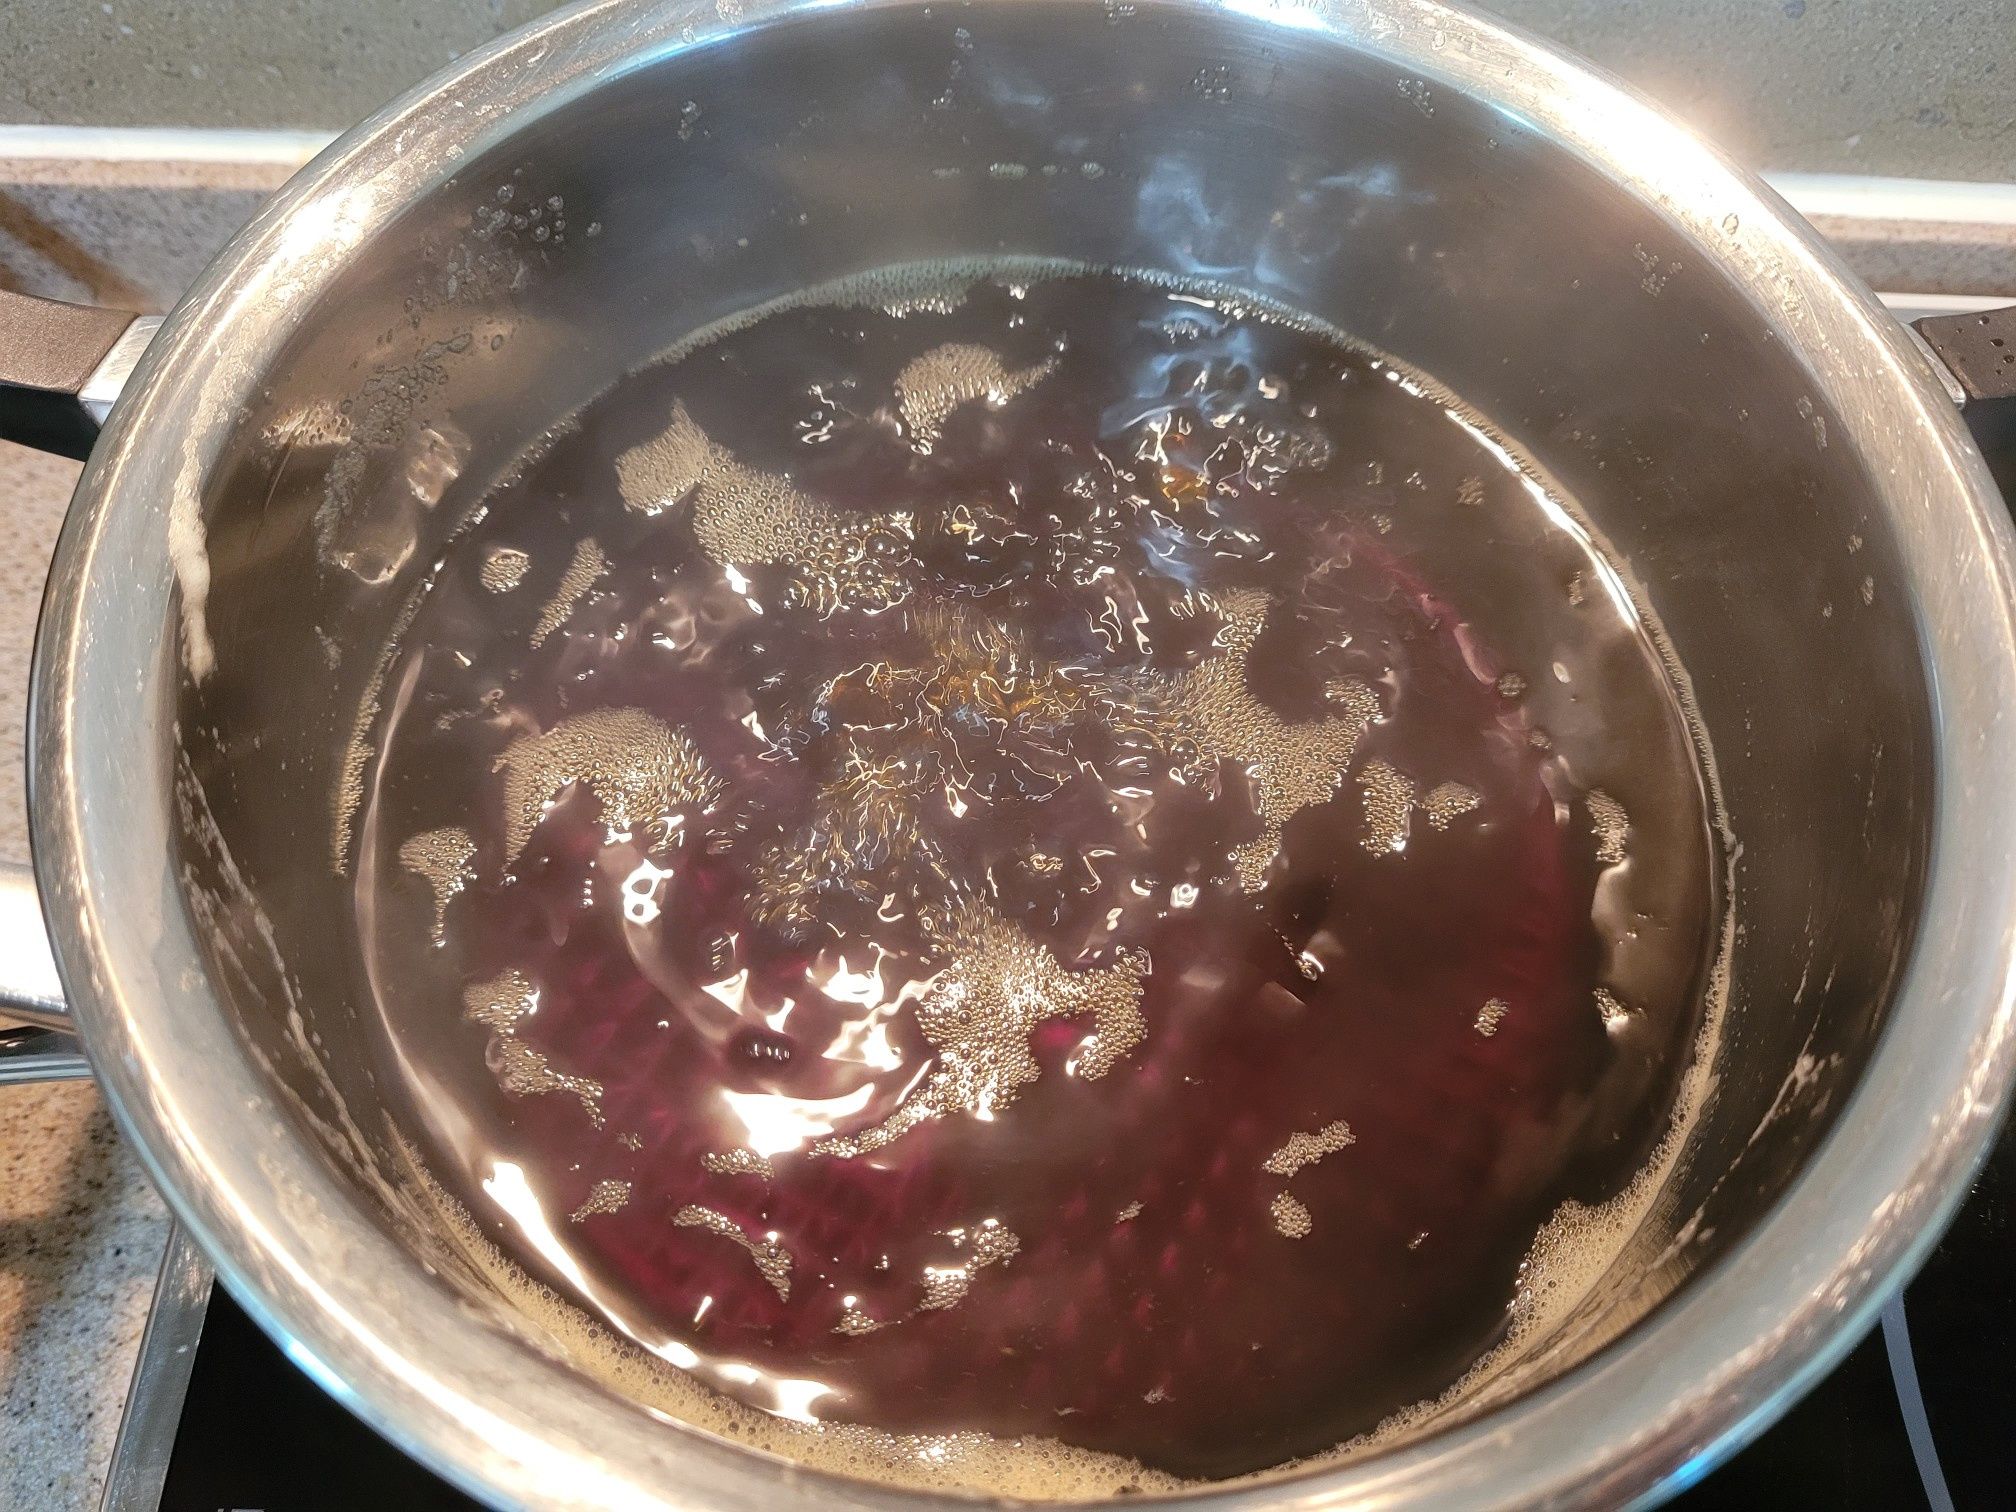 STEP 16/19Add 500ml of soju. I have Cheongju at home, so I put Cheongju in it, so you can choose between soju and Cheongju.
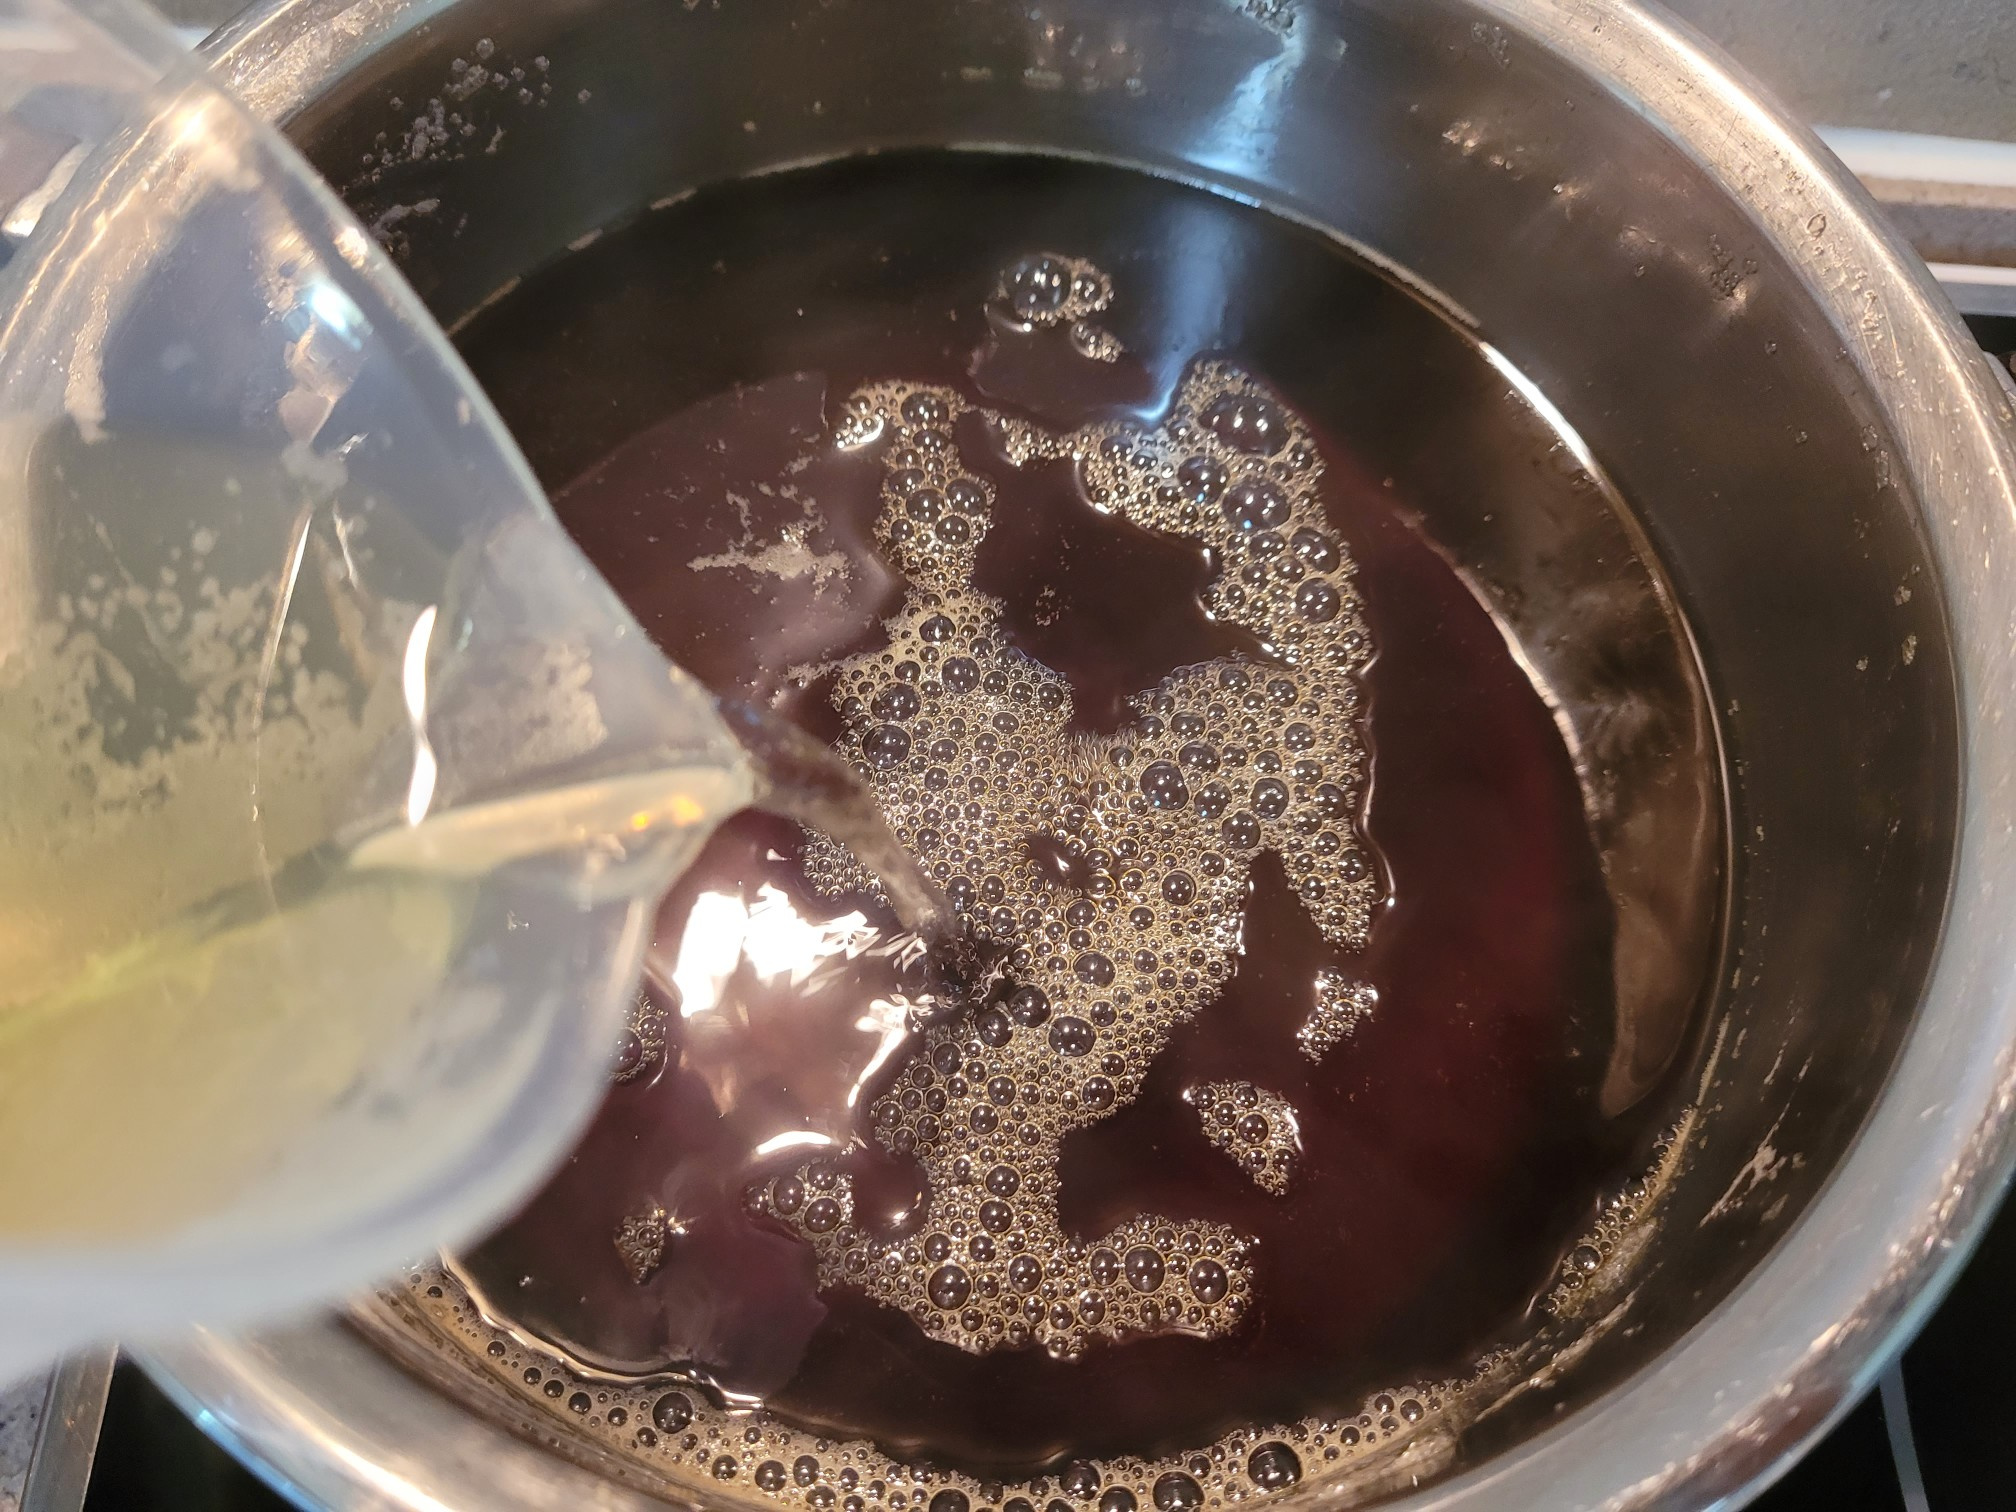 STEP 17/19The second pickle to pour into the garlic pickle needs to be cooled completely, so please wait until it cools down.
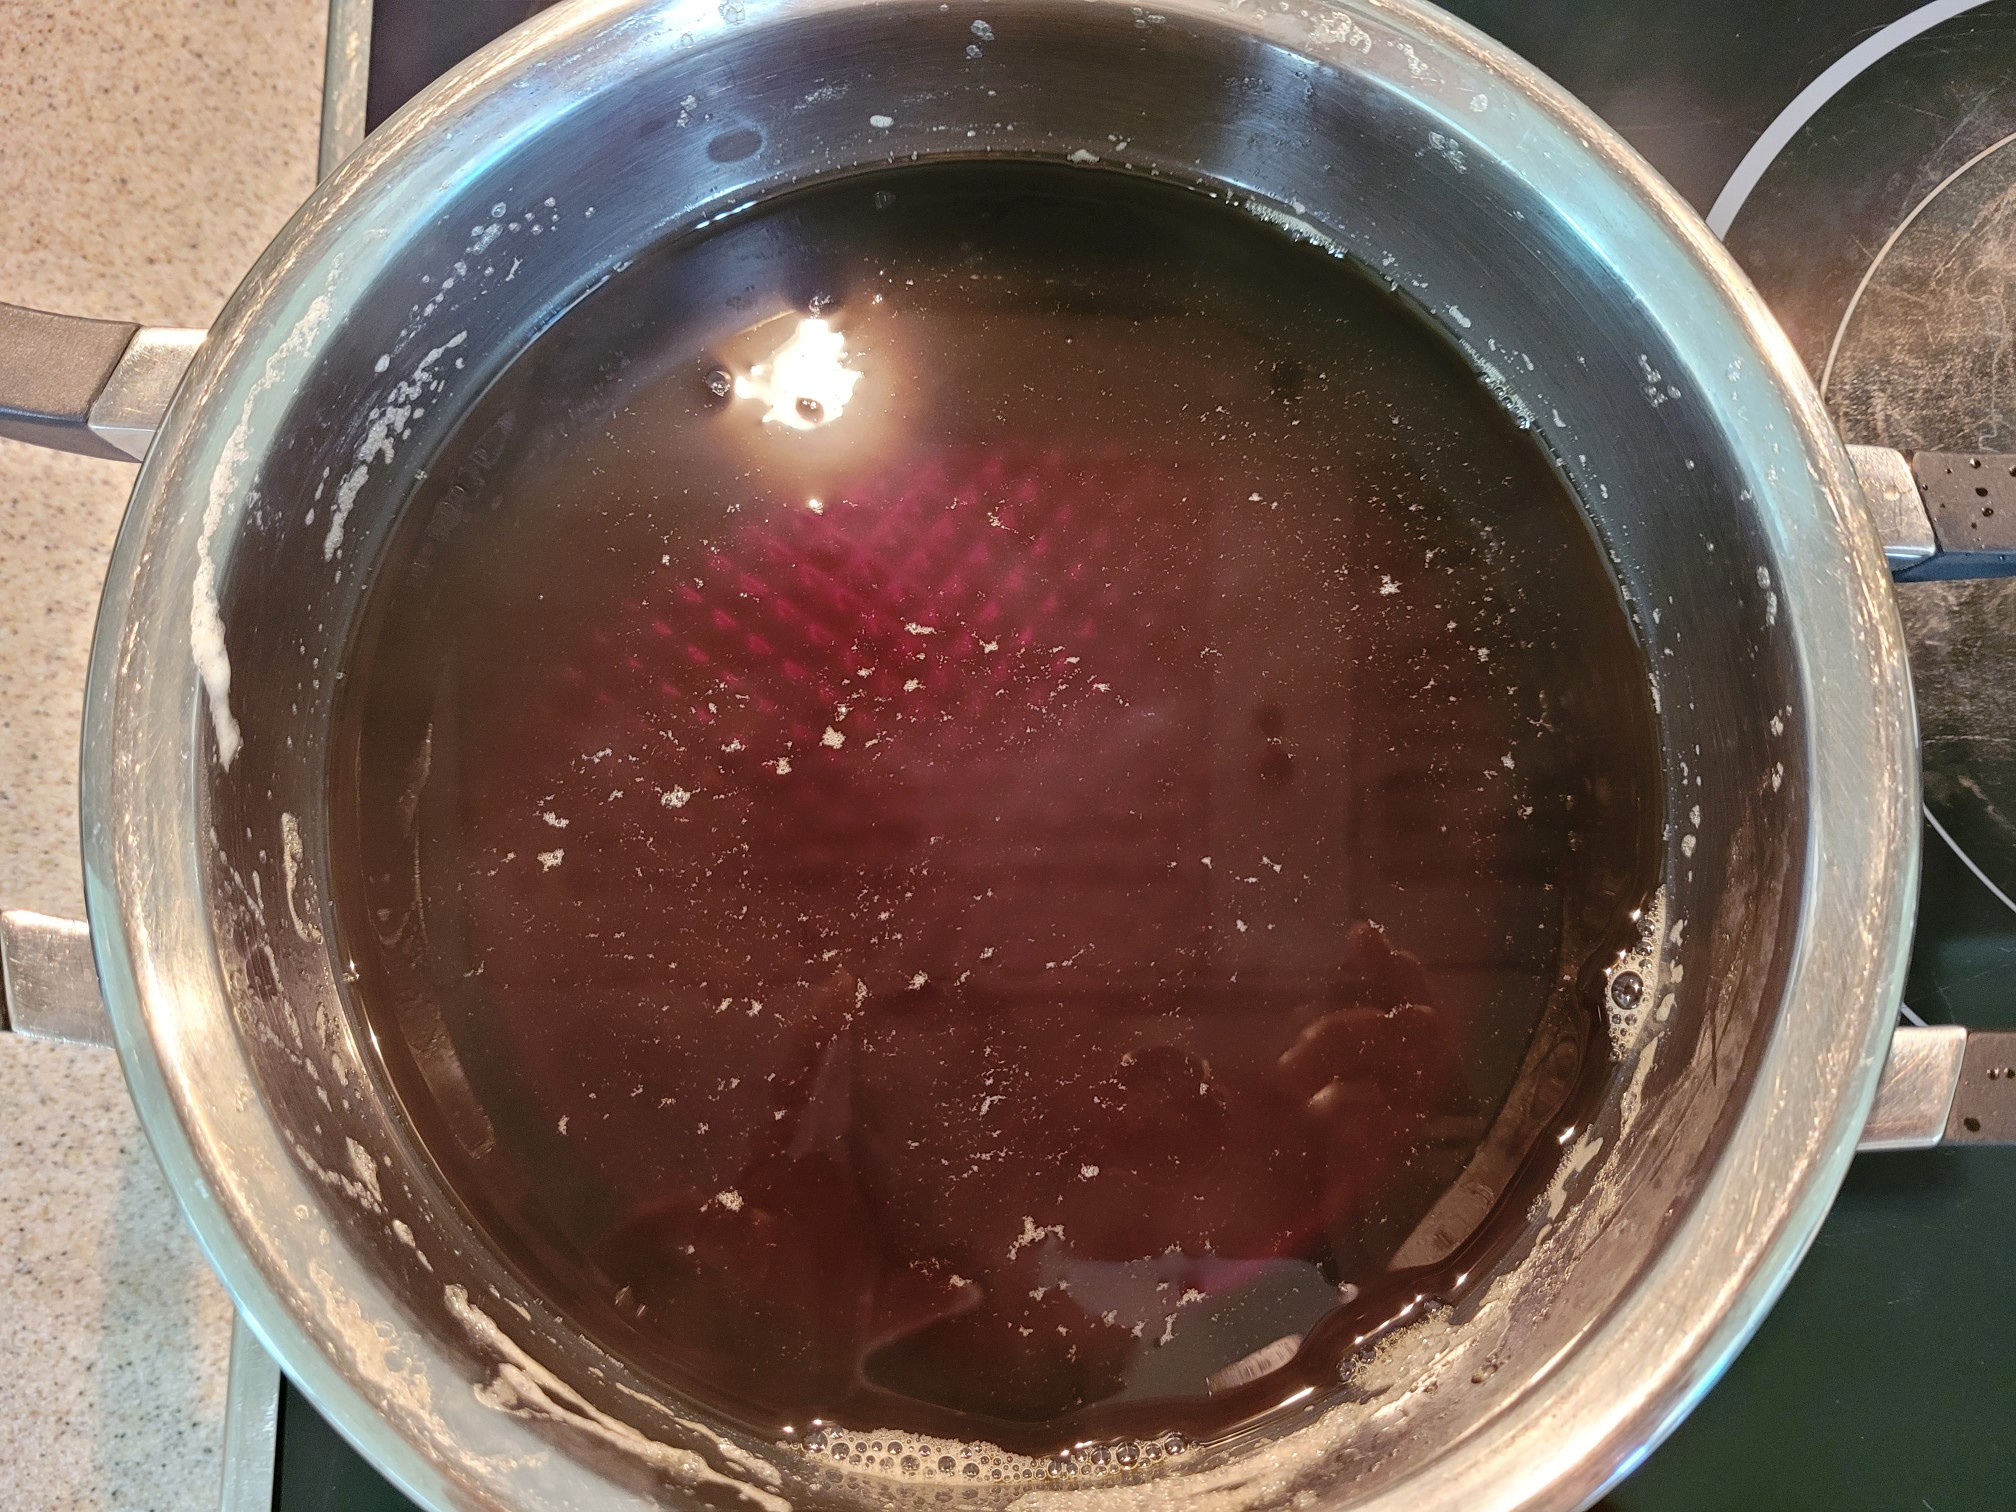 STEP 18/19Put garlic in a kimchi container and pour cooled secondary pickles.
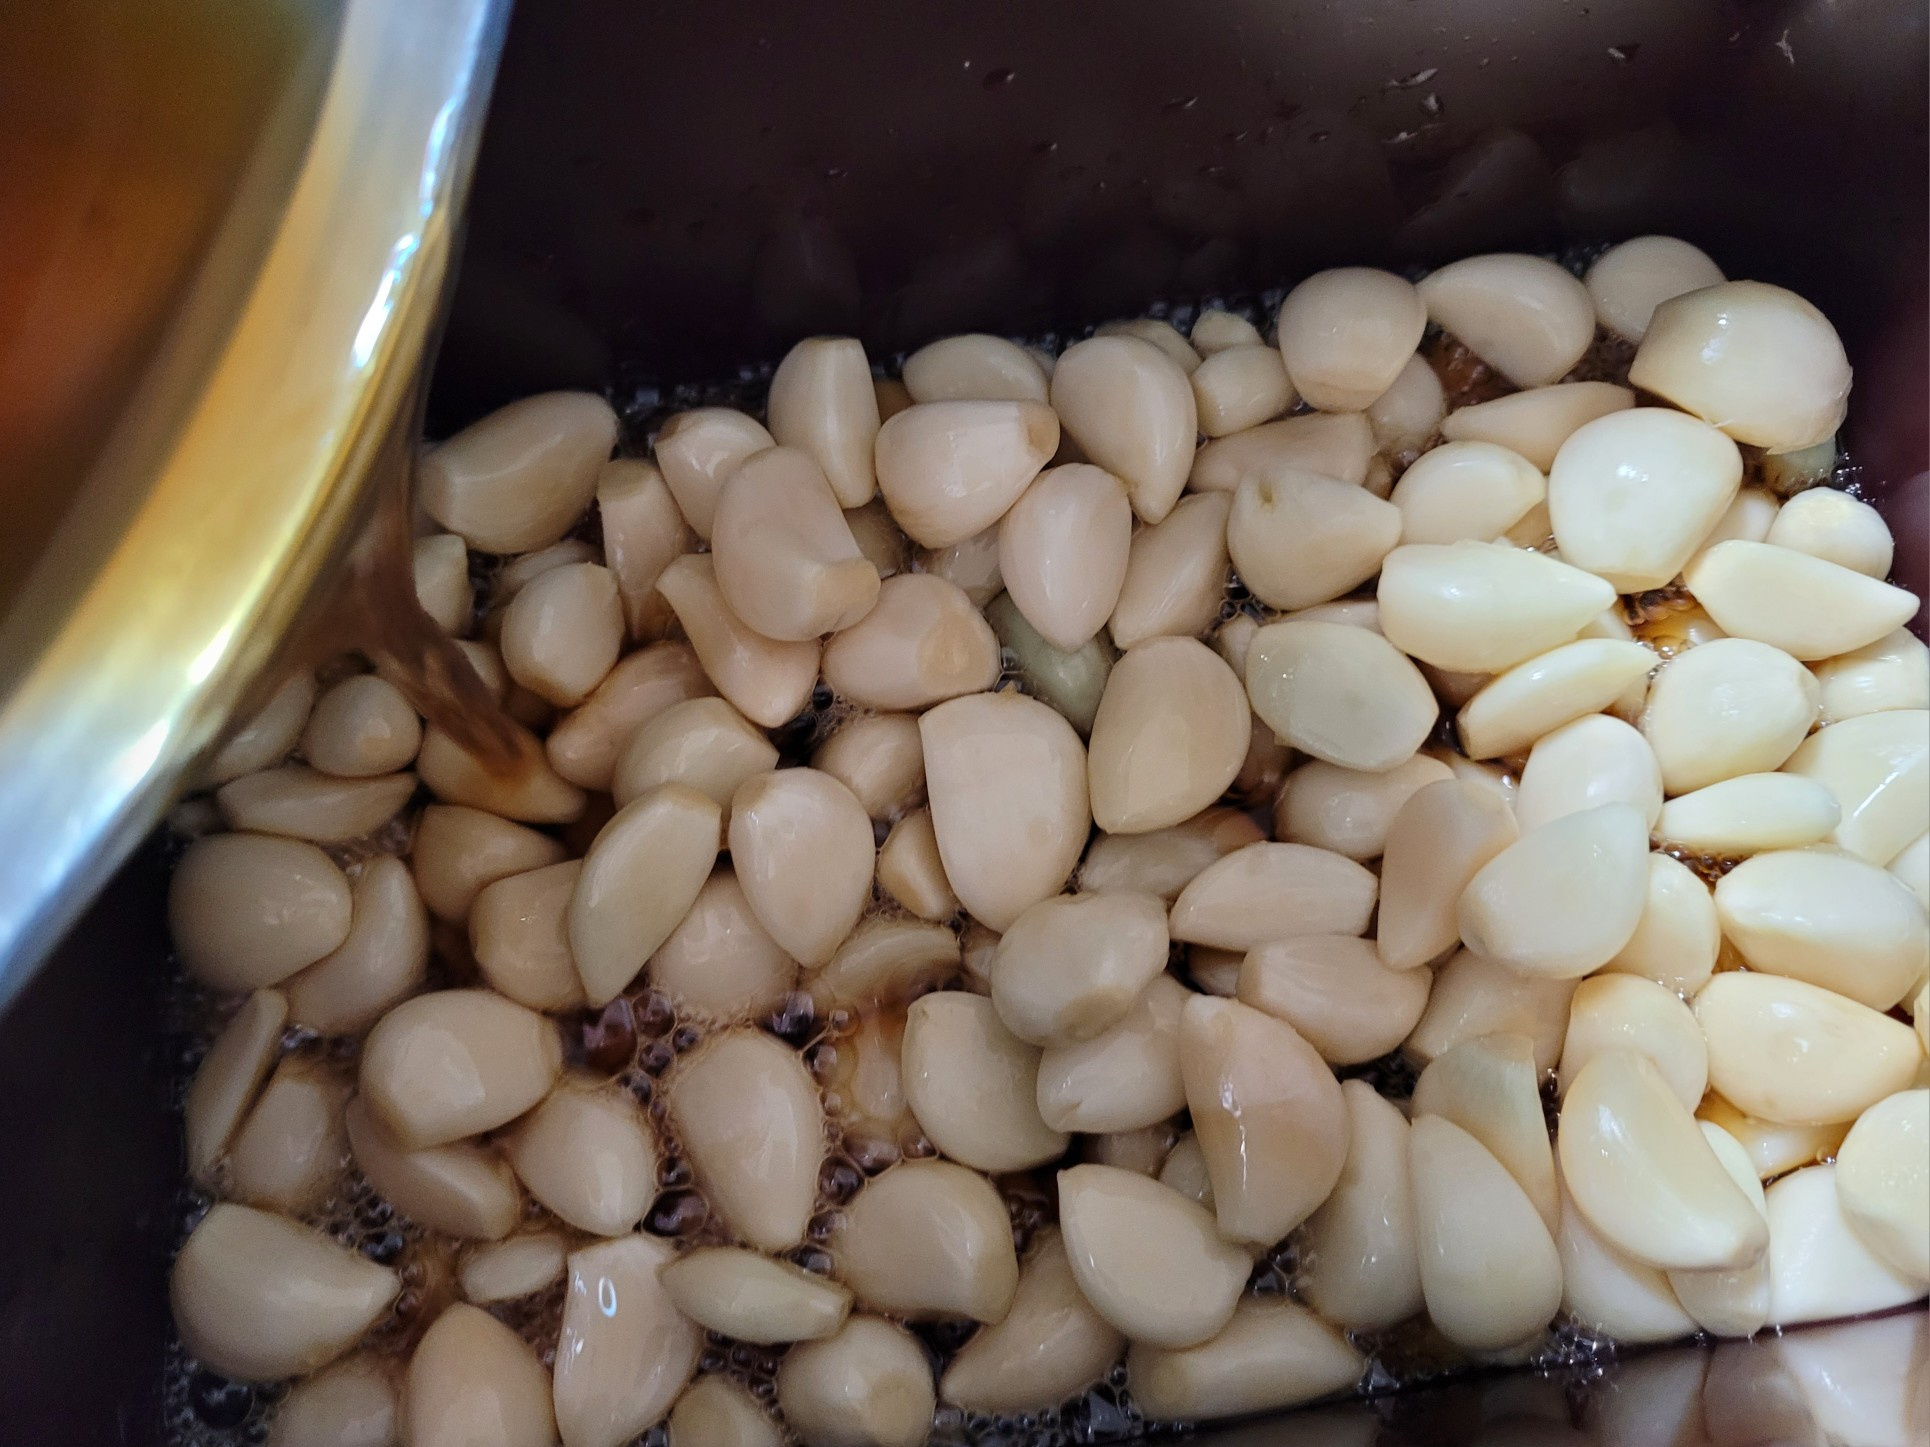 STEP 19/19If you ripen it on the veranda for about two weeks, the garlic pickles with a crispy texture are complete.
After the garlic ripens, boil the pickles, cool them down, and pour them in for a long time at room temperature. As time goes by, it becomes more delicious as it ages.
I look forward to the delicious ripening of garlic pickles loved by our family members when we eat meat again this year.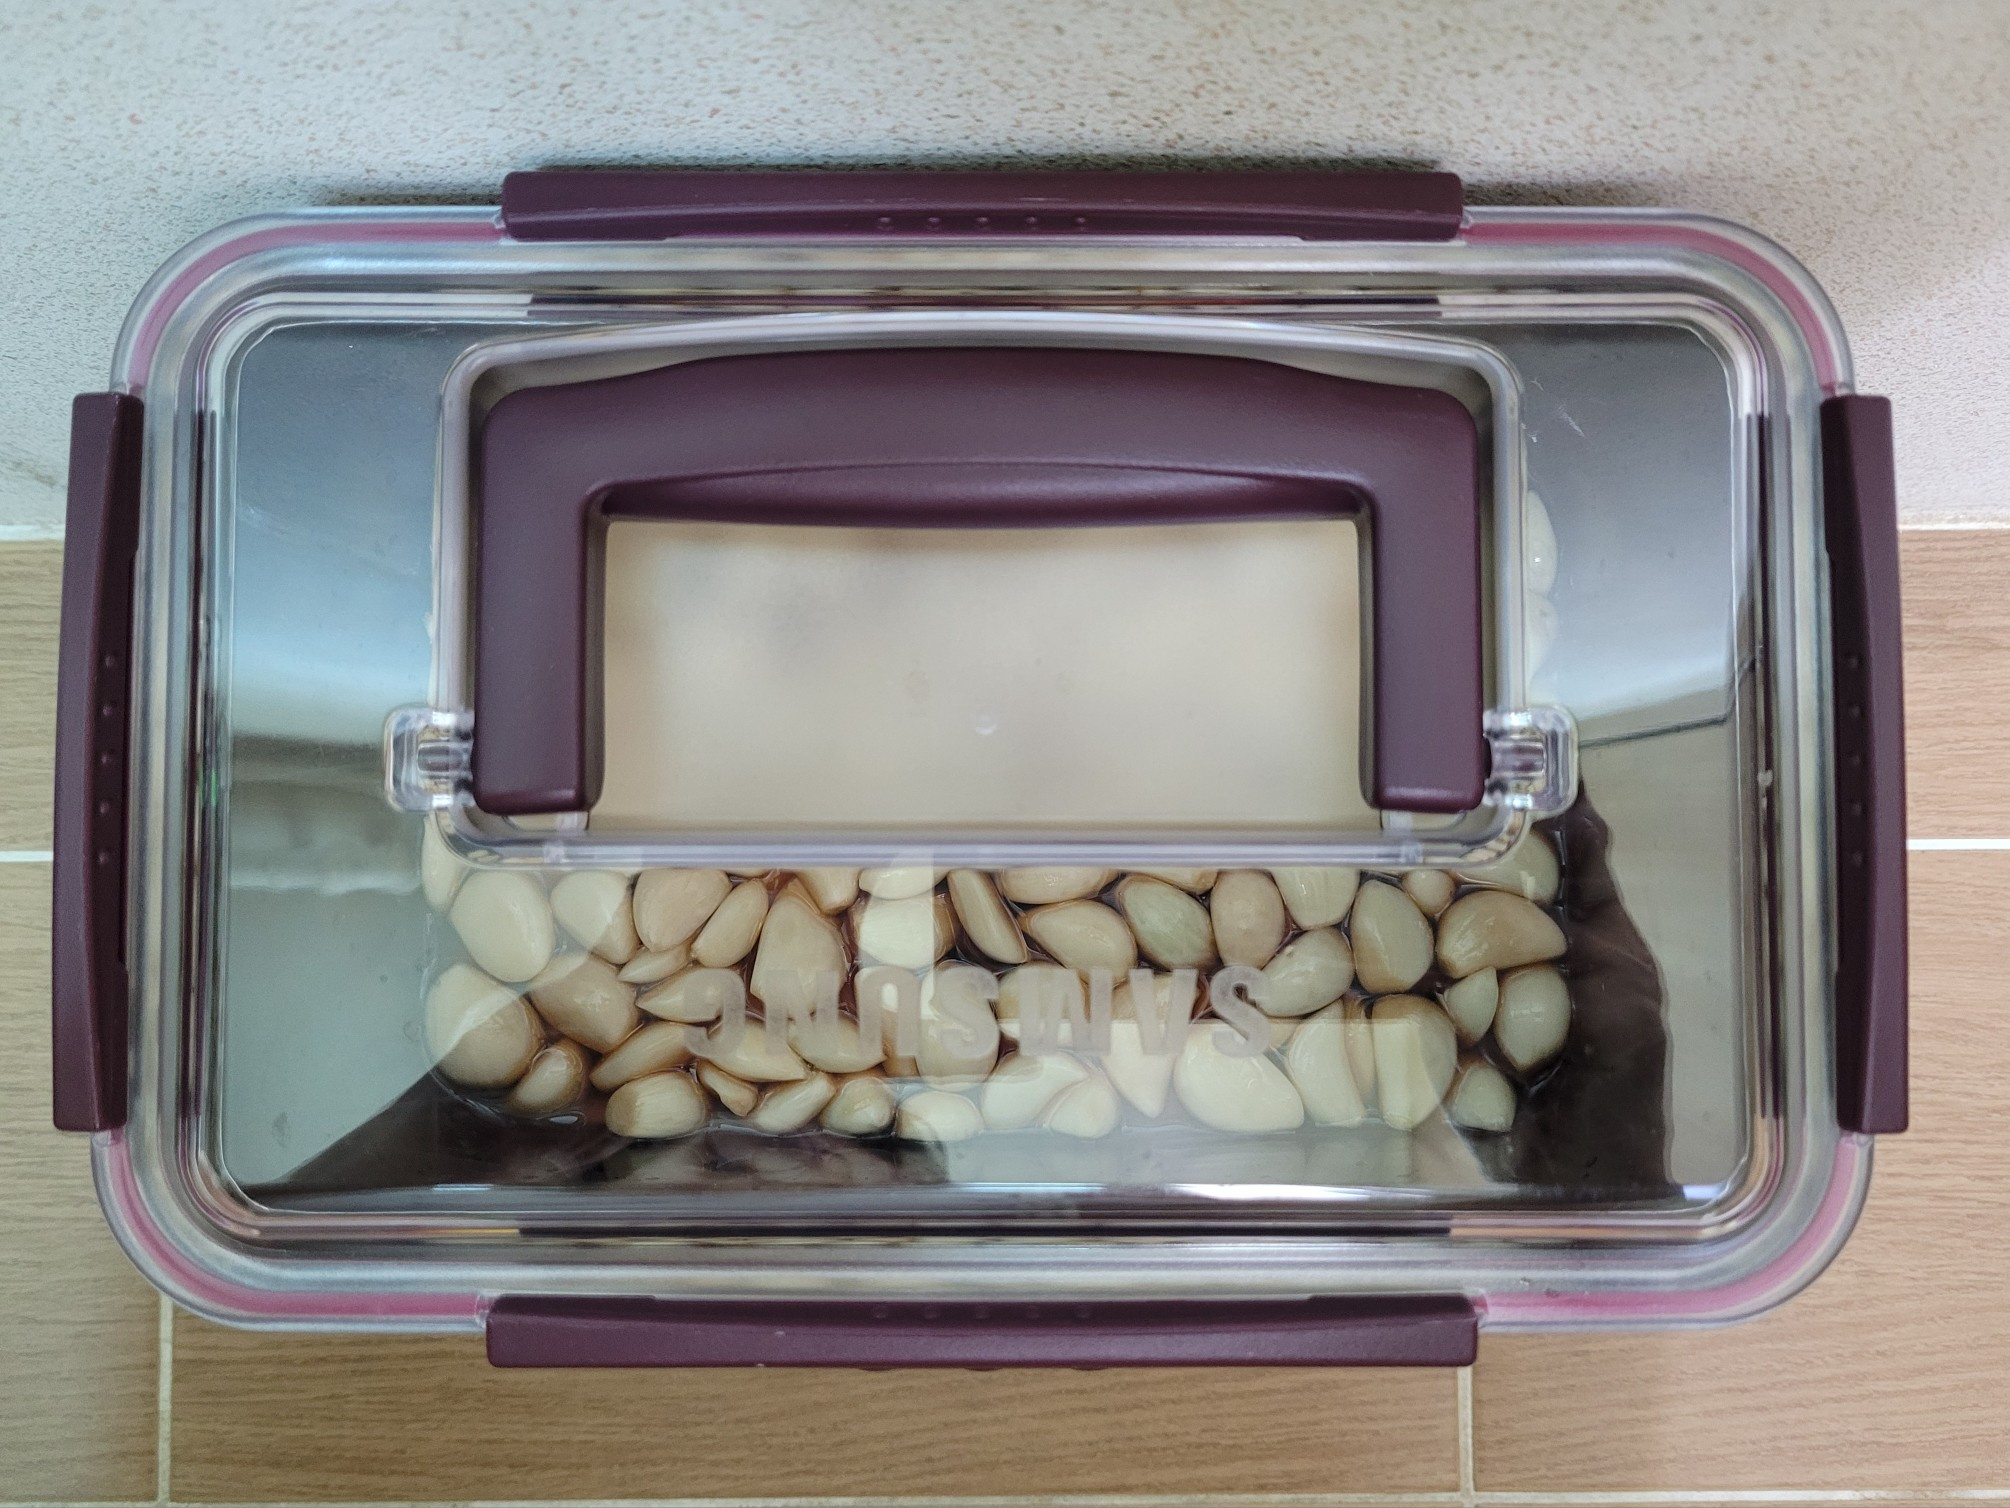 Add the primary pickle, and when the garlic is aged, it turns green (greening) when exposed to light, so block the light and store it in a dark place for 2 weeks.
- Bulgogi Recommended recipe
-
-
1
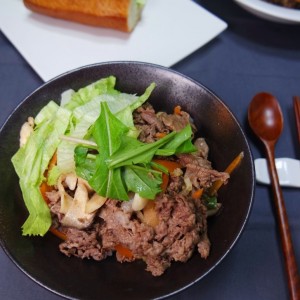
 Chef Baek's bean sprout bulgogi4.82(104)
 -
2
 Yoon's Kitchen Bulgogi Sauce, 3 kinds of bulgogi dishes4.95(40)
 -
3
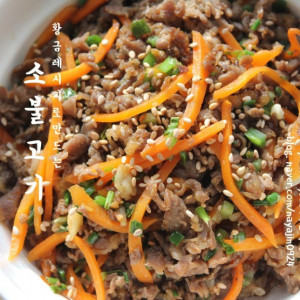 How to make beef bulgogi golden recipe without failure4.98(82)
 -
4
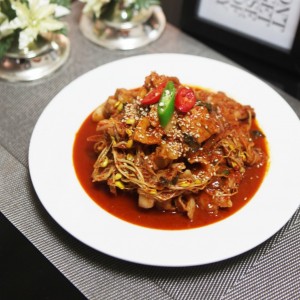
 Spicy and sweet red pepper paste pork bulgogi4.97(37)
-
- chicken Recommended recipe
-
-
1
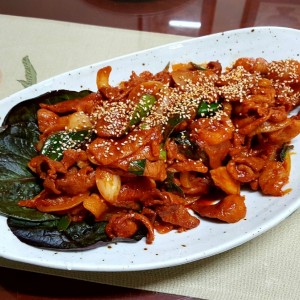
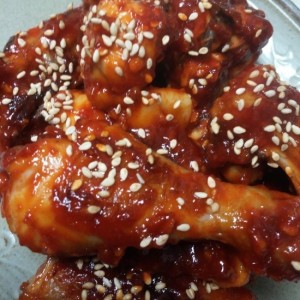 Making Grilled Seasoned Chicken Without Oven4.92(13)
 -
2
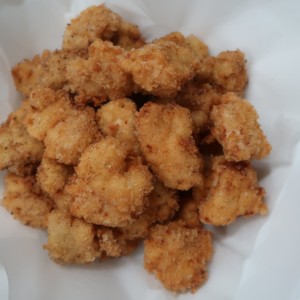 Making popcorn chicken. Crispy and delicious baby snacks.4.91(11)
 -
3
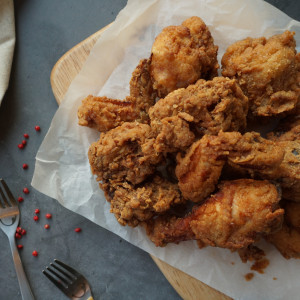 [Crispy fried chicken] You can make homemade fried chicken at ho4.50(6)
 -
4
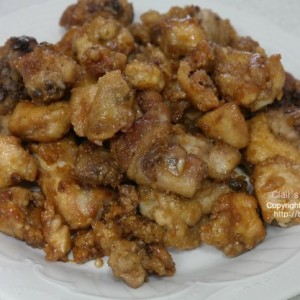 Kyochon chicken. I'm not jealous of soy sauce chicken4.80(5)
-