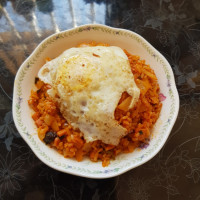
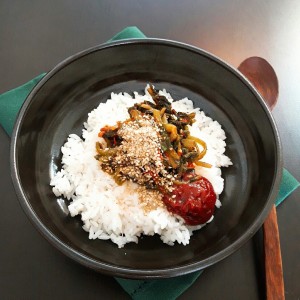
Making kimchi fried rice. A simple dinner menu that's always del
With just one kimchi, you can make a menu that you're not envious of. What a fascinating kimchi! I can't live without kimchi, right? ^^
I'm not jealous of any other menu with just kimchi fried rice. It's always delicious. Why is it so delicious when I make it simple without much. lol
2 serving
Within 30 minutes
콩설기
- Ingredients
-
-
instant rice2bowl
-
Kimchi2/3bowl
-
Sugar2T
-
perilla oil2T
-
Mayonnaise2T
-
Oyster sauce1T
-
red pepper paste1T
-
Sesame
-
Sesame oillittle
-
- Cooking Steps
-
STEP 1/8Shake off the inside of the kimchi and cut it as small as possible. That way, it's easier to eat. Cut it into 1-2 centimeters.
The amount of kimchi is about 1/3 of the amount of rice. You can adjust it according to the salty level of the kimchi. If the kimchi is not salty, the texture is better if you add 1/2 of the amount of rice. I put in about half of the amount of rice.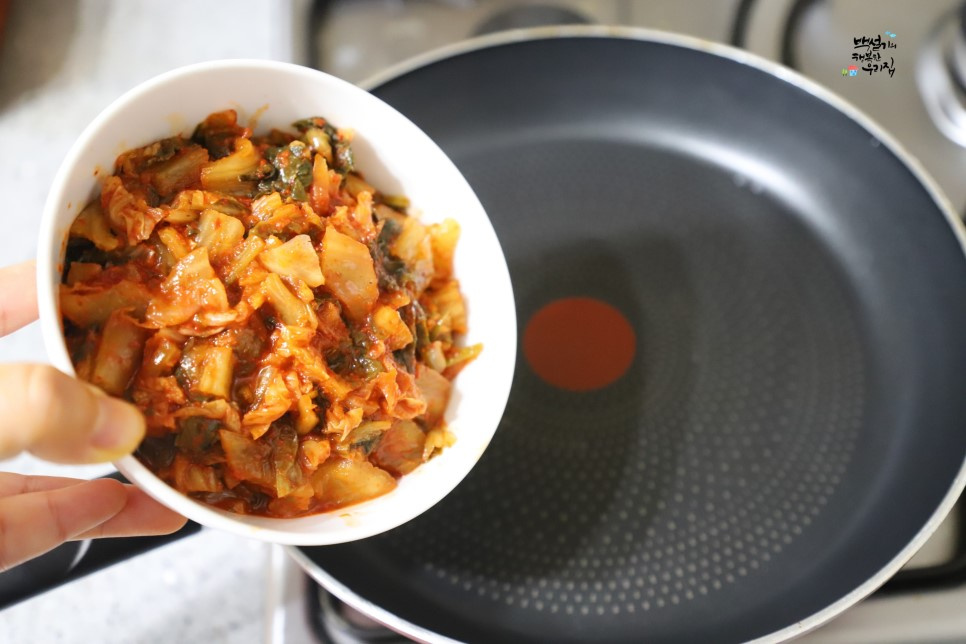 STEP 2/8First, I'm going to stir-fry kimchi. Put chopped kimchi in a frying pan, add perilla oil, and stir-fry over medium heat.
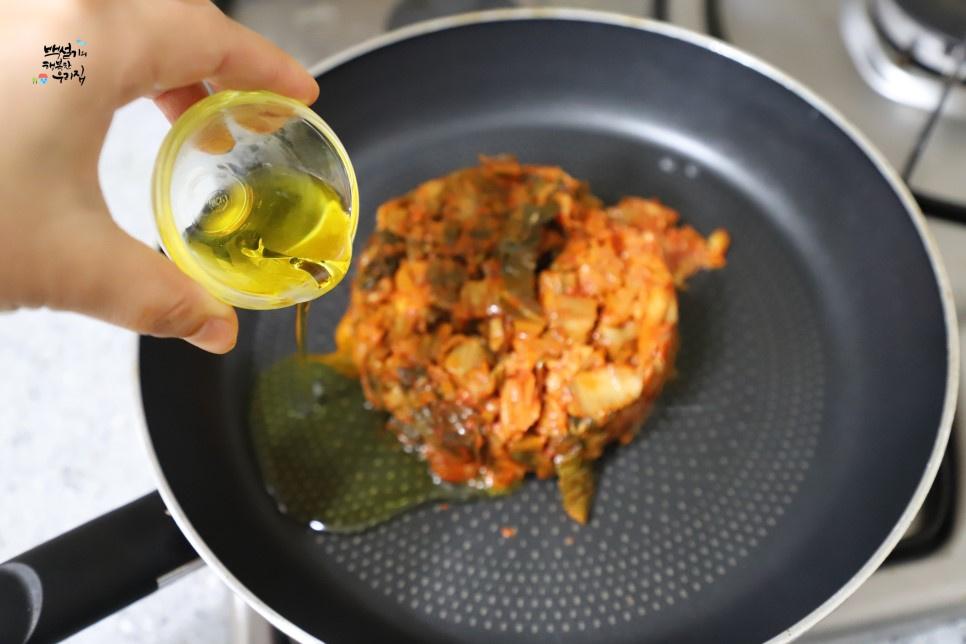 STEP 3/8Add perilla oil and stir-fry once, then add sugar and stir-fry. Kimchi will be out of breath. Put about 1T of sugar in half a bowl of kimchi. You can adjust it according to the sourness of the kimchi. If the kimchi is too sour, add a little more sugar.
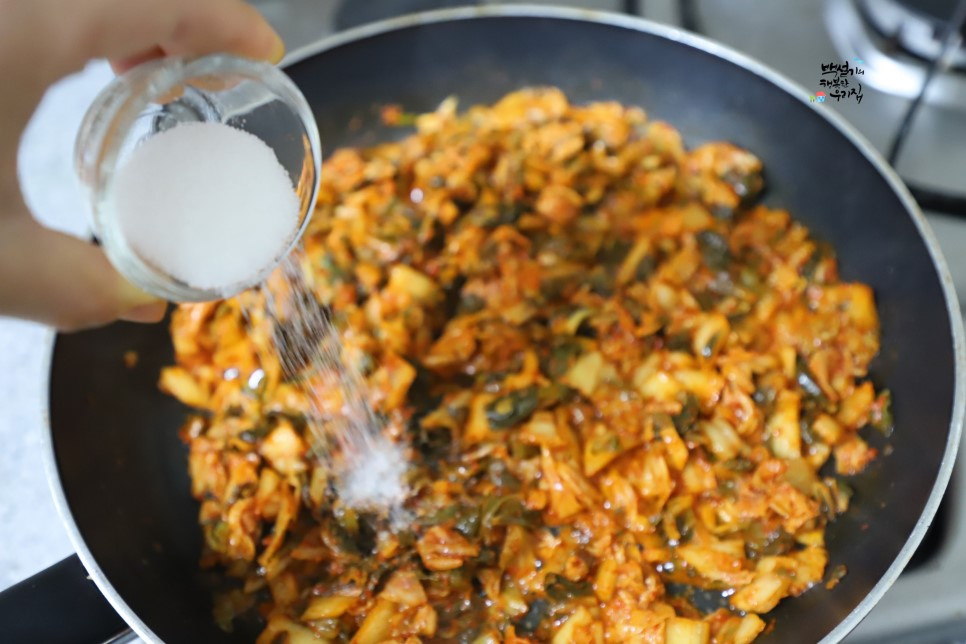 STEP 4/8When the kimchi is a little out of breath, and the water is gone, add 1T of red pepper paste and stir-fry it. If you sprinkle sesame seeds here, stir-fried kimchi..It's delicious with rice.
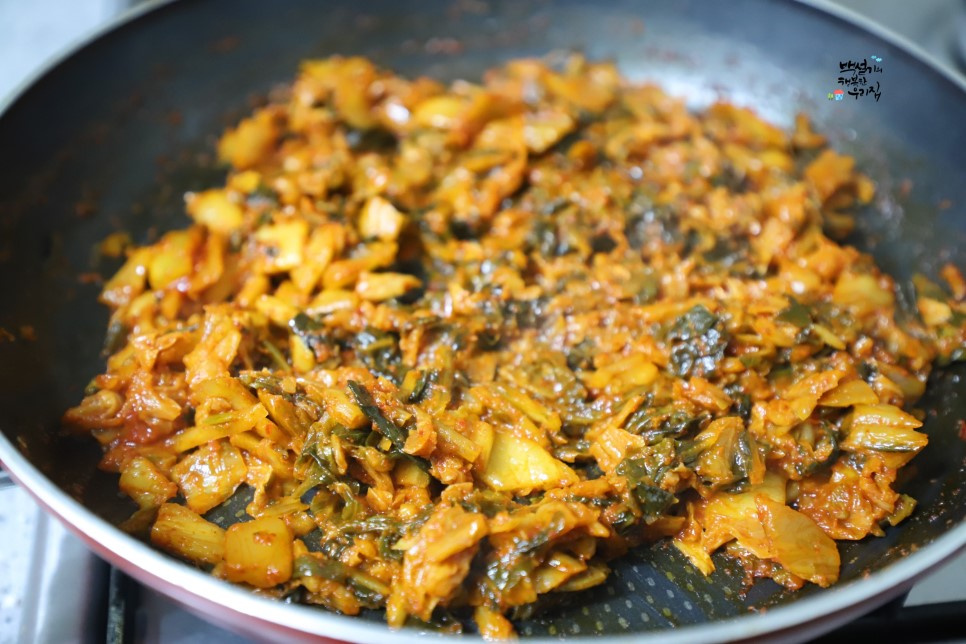 STEP 5/8Put two bowls of rice in here and mix well. If you add rice and stir-fry it after drying it well, the rice will not be sticky and it will be roasted deliciously.
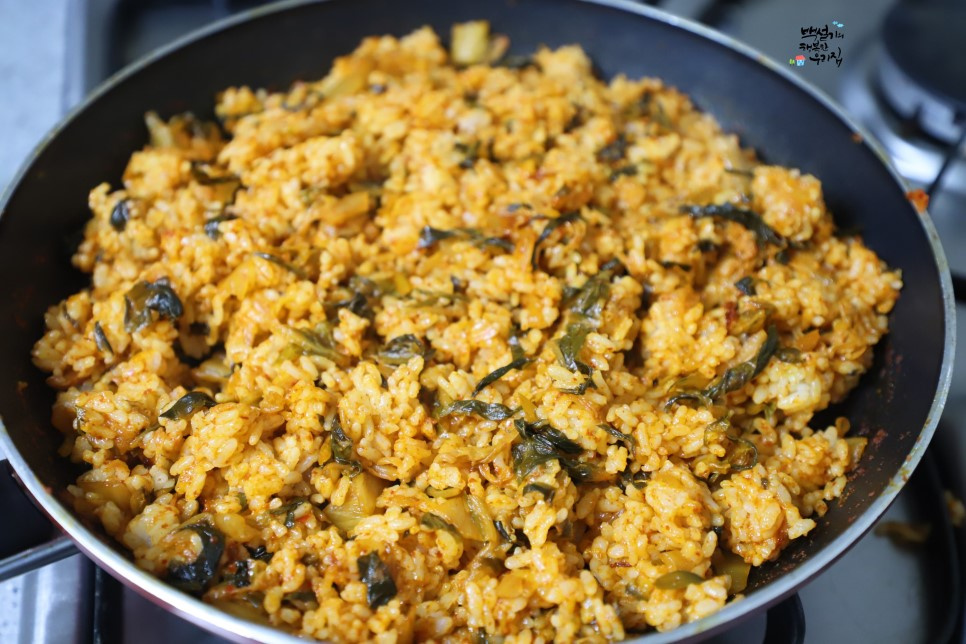 STEP 6/8Add 1T of oyster sauce and 2T of mayonnaise and mix well. If you add a little bit of oyster sauce, the flavor gets better. But it's salty if you put in a lot, so please put in a little bit. It's also savory if you add mayonnaise. The rice looks more delicious because of its gloss.
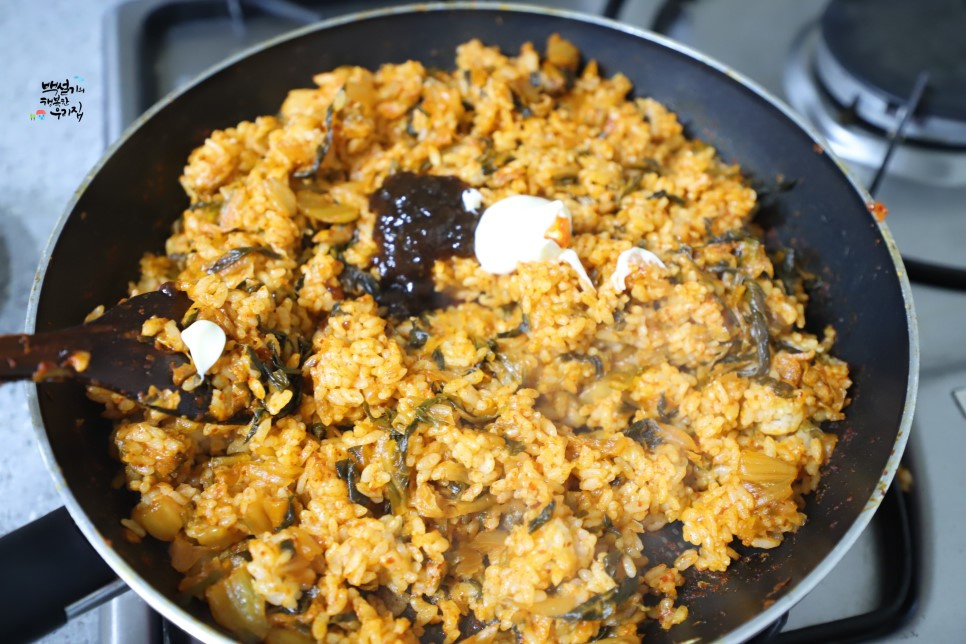 STEP 7/8Lastly, add sesame seeds and sesame oil and stir-fry them.
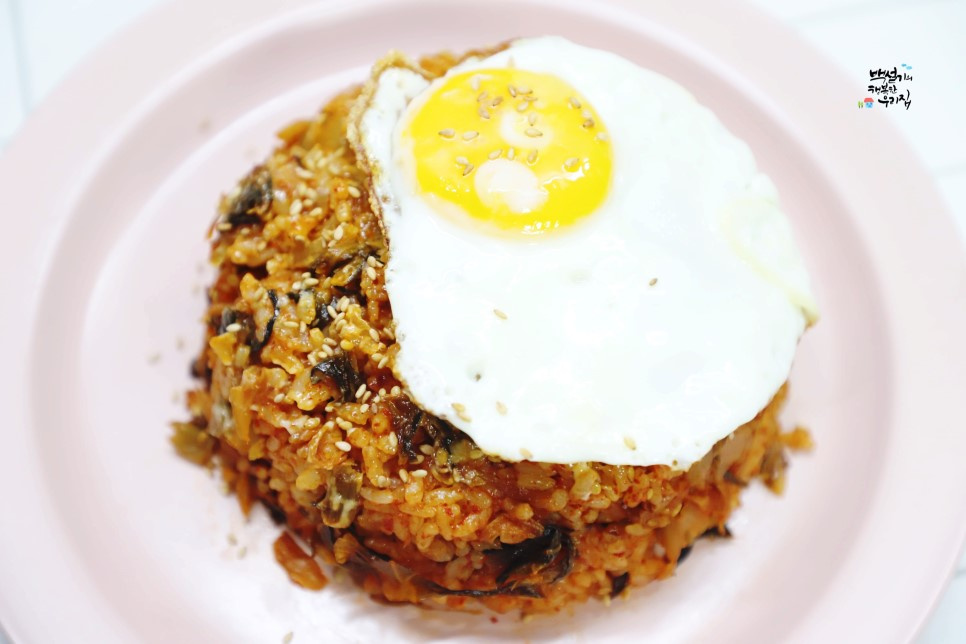
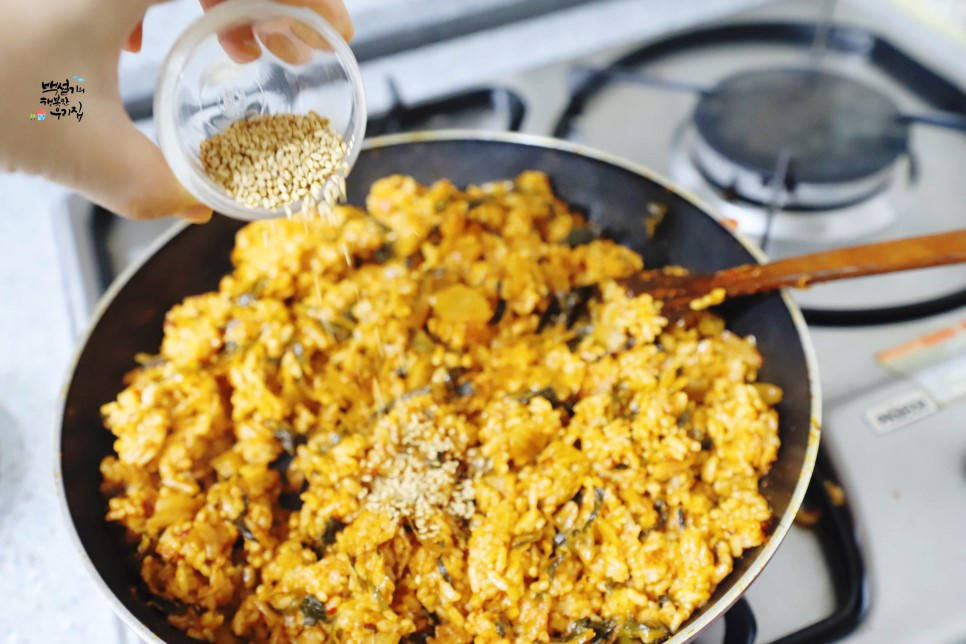 STEP 8/8Kimchi fried rice is done! What you can't leave out here is fried eggs. The fried egg on top of kimchi fried rice has to be sunny side up when the yolk is undercooked! That's how you can eat more delicious kimchi fried rice. I always eat two fried eggs because one is not enough.^^Lol
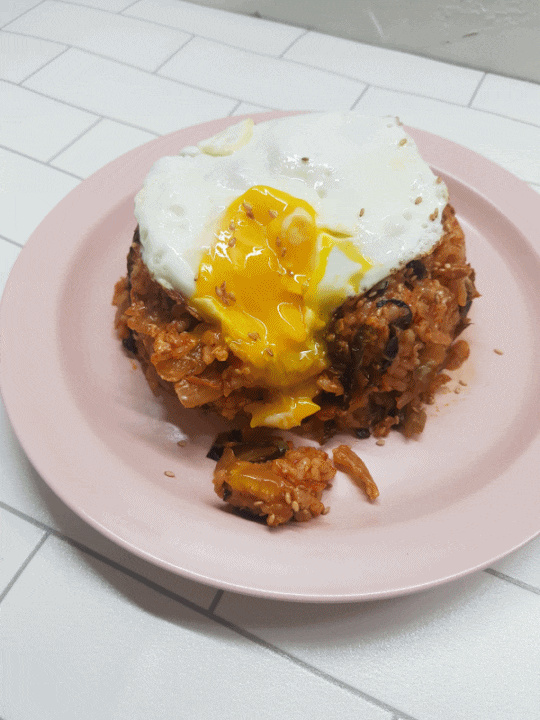
- Cooking review
-
5.00score
-
 the*****scoreIt's totally delicious!!2020-01-29 20:24
 -
 636*****scoreIt's good. Thank you for the food2019-11-17 16:20
 -
 354*****scoreThank you. I followed the recipe and it's really good!2019-10-04 05:43
 -
 895*****scoreI followed the recipe for kimchi fried rice and it was perfect for my taste. Thanks to you, I enjoyed it ^_^~2019-09-28 08:37
 -
 866*****scoreIt's so delicious2019-09-18 18:25
-
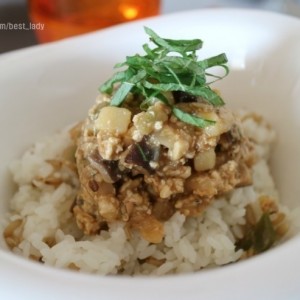
- chicken Recommended recipe
-
-
1
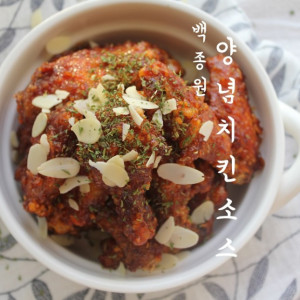 How to make Jongwon Baek seasoned chicken sauce. Making seasoned5.00(23)
 -
2
 Making kkanpung chicken with leftover chicken4.88(8)
 -
3
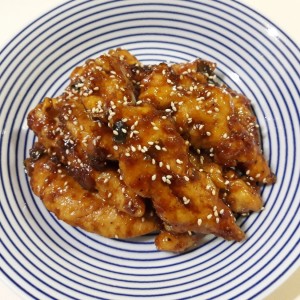 Making soy sauce chicken Kyochon slap sauce :)4.81(63)
 -
4
 Super simple chicken leg chicken (feat. air fryer)4.78(9)
-
- Bibimbap Recommended recipe
-
-
1
 Young radish bibimbap, a simple meal5.00(10)
 -
2
 Vegetable Kang Doenjang & Kang Doenjang Bibimbap with potatoes a4.94(17)
 -
3
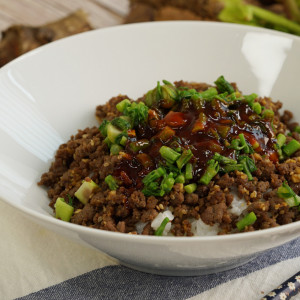 Beef bibimbap filled with the smell of spring while preparing fo5.00(13)
 -
4
 Healthy + Honey Taste + Simple Eating Alone! Salted pollack avoc5.00(9)
-